
An entity is the object for which the fact sheet is being created. An entity can be anything such as an insect, fish or plant species, a medical disorder, or any other series of objects that are described according to specific topics. For more information see Components of a fact sheet.
Adding Entities
To add a new Entity to the Entity list, first give focus to the Entity list by clicking on it. You can tell when the Entity has focus as its background will change color. Adding a new Entity can be done in several ways:
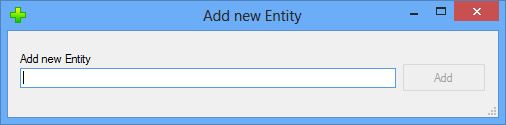
- Via the Entities Menu…Add (Ctrl + E)
- Via the pop-up context menu accessible by right clicking within the Entity list.
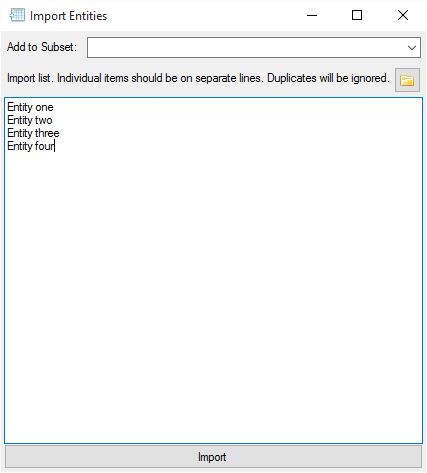
- Via the Import (Ins) option (available via the Entities menu or the context menu).
You can also elect to add the entities to an existing or new Subset automatically. To do this either select an existing Subset from the dropdown menu or type in the name of a new Subset.
Editing Entities
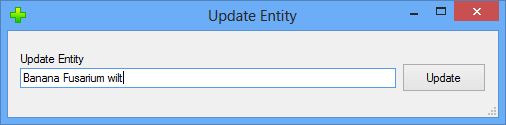
To edit an existing entity select the entity by clicking on it (or use the up or down arrow keys to navigate to it). Then you can select the edit option (via the Entities menu or context menu), or simply press Ctrl+E. Make the desired changes and click the update button to complete the task.
 Deleting Entities
To delete an Entity, first select it by clicking on it (or use the up or down arrow keys to navigate to it). Then select the delete option from the Entities menu or context menu, or simply press the delete key. You will need to confirm that you wish to delete the Entity.
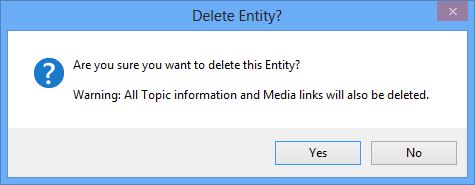
Deleting a Entity will also automatically remove all Topic text and media references (but will not delete the media files) from the Entity.

 Sorting Entities
By default Fact Sheet Fusion will list the Entities in the order you enter them. However you can sort Entities in two ways. You can either sort all the Entities automatically in to ascending or descending order via the Entities Sort sub menu or context menu. Or you can manually sort the Entities using Drag and Drop.
Entity Properties
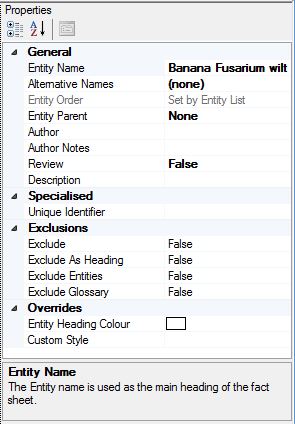
When you give focus to an Entity its properties will be listed within the Properties section of the interface located top right. When you give focus to an Entity property you will get a small help topic listed at the bottom of the properties describing its function.
General
Entity Name – You can edit the Entity name in the properties panel or as described above.
Alternative Names – This property allows you to assign alternative names associated with the Entity. For example, common names, synonyms etc. See the Alternative Names help topic for further information.
Specialized
Unique Identifier – The unique identifier is a code (number, text or combination thereof) such as an LSID or database ID that can be used where supported in specialized export templates. For example, it could be used as a part of a query string to filter or to return additional information from an online system.
Exclusions
Exclude – If set to true the entity will be excluded from the export process and no fact sheet will be created, unless overridden by Export options.
Exclude as Heading – Normally most export templates place the entity name at the top of the fact sheet to identify its content. However, if needed, you can mark the entity name to be excluded as a heading, if the export template supports this.
Exclude Entities – This property allows you to exclude the cross-linking of other entities found within the entities topics.
Exclude Glossary – This property allows you to exclude the cross-linking of glossary terms found within the entities topics.
Overrides
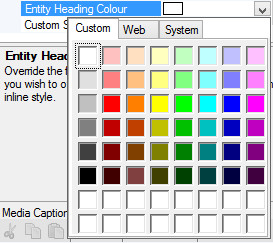
Entity Heading Color – Normally the export template will define the color (and style) of the Entity headings within the fact sheet. However you can override this with your preferred color.
Custom Style – Normally the export template will define the style and formatting of the Entity heading. However you can completely override the export templates style sheet by defining your own in-line styles.
The styles defined should follow the same rules for applying a HTML in-line style. e.g. An in-line style on a heading tag:
<h1 style=”color:#333;text-transform:uppercase;border:none;”>My Entity</h1>
The Custom Style should only define the style definitions, not the tags. i.e. The highlighted section below from the example above:
<h1 style=”color:#333;text-transform:uppercase;border:none;“>My Entity</h1>
Exporting
Export Fact Sheets
Please see Exporting Fact Sheets for further information.
 Entity Names to File
This takes the currently listed entities and saves them to a text file. Once the file has been created you will be asked where to save it.
 Entity Names to Clipboard
This takes the current listed entities and saves them to the clipboard where you can for example paste them into another document etc.
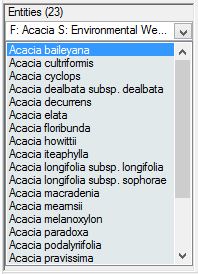
Filtering Entities
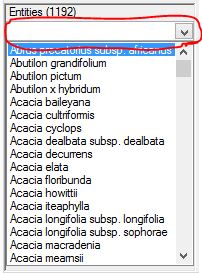
When dealing with a large number of entities it’s often useful to temporarily filter the list. You can do this via the filter option found at the top of the entity list. To access the filter options click on the dropdown list.
Two filter options are available:
- Text filter: Enter search criteria (text) you wish to match within the entity list and their alternative names, if present.
Note: If a match is made on an alternative name the associated Entity will be listed, not the alternative name. This can give the appearance the entity listed didn’t match the criteria you entered in the filter. - Subset filter: Selected subset(s) will filter the entities list based on the entities contained within the subset(s).
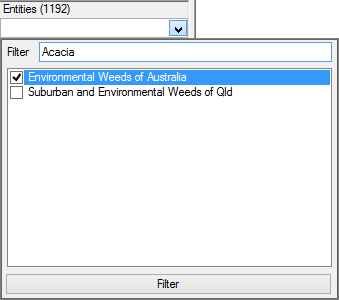
If filter criteria and subsets have both selected they will work in conjunction with each other. That is the entities are restricted to the selected subset(s), which are in turn restricted by the filter text.
Once Filter criteria has been entered and/or subsets selected click on the filter button (or press return). This will apply the filter. If the filter dropdown is closed without selecting to filter (i.e. clicking the filter button), the filter options will not be applied.
To clear the filters remove filter criteria and un-select all subsets then click the filter button.