
Adding and removing media with the Media Manager
Before media can be added to a project you must first create a Media Category to hold it. There are several ways in which to add media to a Category.
1. Select the media category you wish to add media to then select ‘Add’ from the Media menu (shortcut key combination is Ctrl+space). Or you can right click in an empty area of the media panel and select ‘Add’ from the pop-up context menu, or click the add media button on the media panel toolbar.![]()
You will then be presented with a media browser dialog.
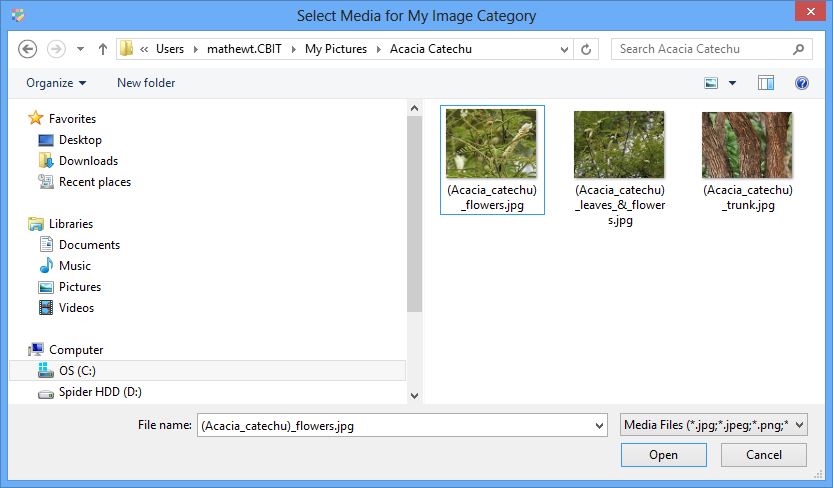
When adding media you can select one or multiple items in the media browser dialog. To select multiple media items you can use either the Ctrl key or Shift key. The Ctrl key allows the individual selection of images, while the Shift key allows images to be selected in blocks.
Once you have selected your preferred media they will then be copied to your Fusion database media store folder and listed within the selected Media Category.
2. You can use drag and drop to add media from a Windows application, such as File Explorer to the selected Categories media panel. A copy of this media will be automatically copied across to the fusion database media store and listed in the selected Media Category.
3. Use copy and paste to add media from internal or external sources of media to the media panel. You can use the in-built Windows clipboard for adding media items to a Category. When copying media from an external source such as Windows File Explorer use the Copy command (Ctrl+C), then select the desired category and paste the media to it using the menu, context menu or keyboard command (Ctrl+V). For moving media internal to the Media Manager see the Moving Media topic.
For information about attaching media to Topics, Entities and Glossary Terms please see the Media help topic.