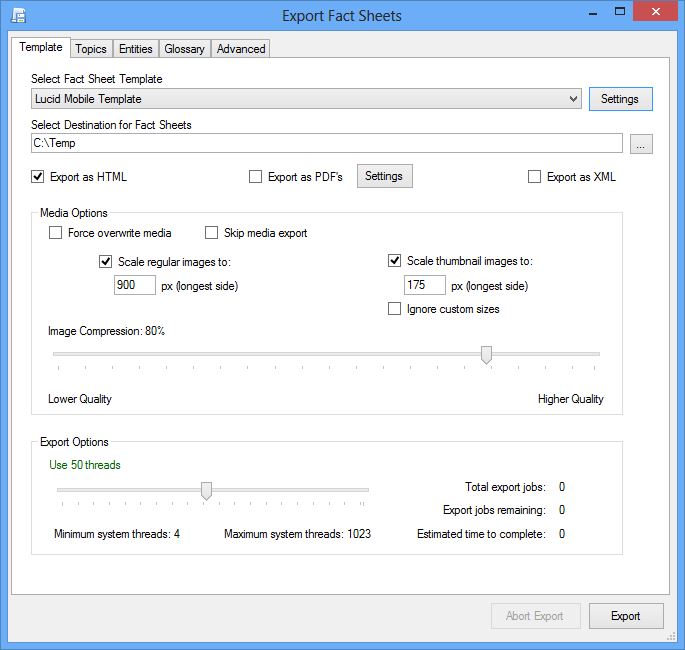
The Template tab contains a minimum set of options required to begin exporting.
To begin with, select a fact sheet template from the drop down list. All installed templates will be listed within the drop down.
Template Settings
The template settings provide you details on the selected template. It also outlines the recommended settings for the template, which can be automatically applied.
Destination
Select a destination folder for your exported fact sheets. It is recommended that you choose an empty folder to ensure you can see exactly what is exported if you need to copy the fact sheets to a web server or some other destination. To select an export destination folder select the file browser button.
Warning: Exporting will overwrite any existing fact sheets or media of the same name in the destination folder.
Export File Types
You can select one or more export formats for your fact sheets.
HTML
The fact sheets will be exported in Hyper Text Markup Language (HTML) format. The HTML export structure will look like that shown below, within the destination folder:
Assets
\images
\video
\sound
\pdf
\other
css
js
fs_images
The fact sheets will be exported in Portable Document Format (PDF). All of the fact sheets and associated images are embedded within the PDF file, rather than being exported to a separate folder and referenced.
PDF Settings
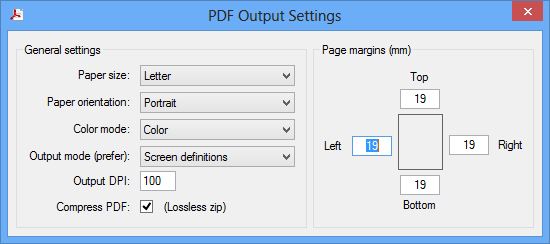
There are a number of additional settings for PDF export. All settings will be saved automatically when the dialog is closed.
Paper size
All paper sizes supported by your operating system will be loaded into the paper size drop down list.
Paper orientation
The paper orientation can be set to either Portrait or Landscape.
Color mode
Output the PDF in either Color or Grey scale.
Output mode
Most templates have style definitions for how the fact sheet should look both on screen and in print. Normally if you are selecting to export to PDF you may prefer to select print definitions, rather than screen definitions, though the choice will depend on personal preference and the template design.
Output DPI
The output DPI you define depends on the quality you wish to print at. For example it is common for printers to support 300 DPI or higher, however it is not always necessary to output at this level to achieve a good print result. The higher the DPI output the larger the file size.
Compress PDF
If selected the PDF will be internally compressed using ZIP.
Page Margins
Allow you define the amount of empty space around the edge (margin) of the document.
XML
This option exports the fact sheets in eXtensible Markup Language (XML). The output folder structure will be the same as the HTML export.
Media Options
The media options defined in the Template tab are global in nature. They apply to all images associated with the fact sheets, glossary and index.
Image compression
Image compression involves a balance between image quality and size, since the compression process discards image information. Less compression means a higher quality image, while selecting more compression can mean a small file size but pixelated, blurry images. For most purposes, a compression level between 60-90 will be suitable. Only image formats that support compression, such as JPEG, will have compression applied.
Below is an example of extreme compression (poor quality) vs low compression (high quality).
|
|
| Very high compression, but low quality image example File size: 2 Kilobytes. | Very low compression, but high quality image example File size: 23 Kilobytes. |

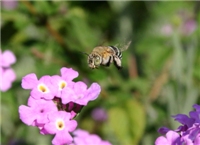
Both images are 200 pixels wide by 145 pixels high at 96 DPI (dots per inch).
Export Options
Fact Sheet Fusion uses a technique called multi-threading to perform the export tasks. This can be likened to breaking down the export job into hundreds (or thousands) of individual tasks, then employing multiple workers to perform these tasks at the same time. This is particularly useful under modern computer architecture that employs multiple CPU cores and large memory spaces. The number of threads (workers) has been limited to 100, even though normally many more threads are available. Any more and the export tasks may overwhelm the operating system, making it unresponsive to other tasks it might be doing, such as checking emails…
During the export process Fact Sheet Fusion will report the number of export jobs it has started and update the number that are remaining as it completes the export process, along with an estimated time to complete.
To begin the export process, click the Export button. Prior to the export beginning a minimum set of options need to defined, such as the export template, export destination and the export type (HTML, PDF and/or XML). If you have not met the minimum export requirements these options will be highlighted in the export dialog.
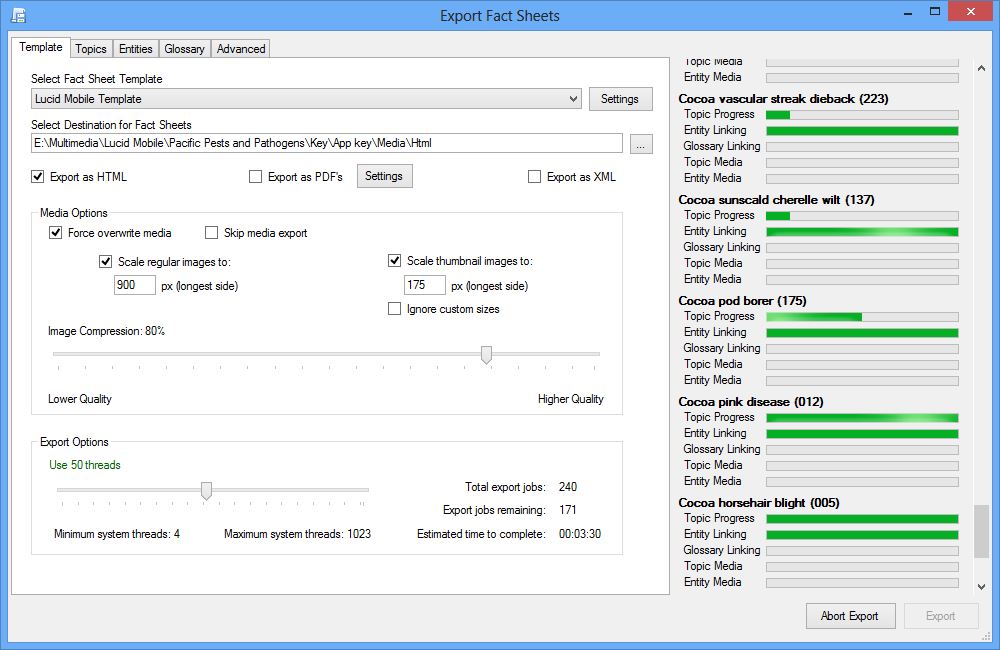
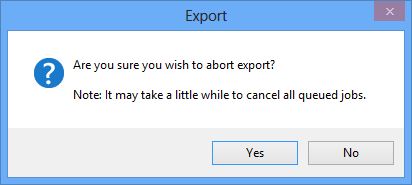
During export it is possible to abort the Export process. To do so, click the Abort button. Fact Sheet Fusion will confirm that you wish to abort before it stops all current export threads (workers).