

The Image Watermark Manager allows you to define all the images you wish to use as watermarks. Once you have selected an image as a watermark you can set preferred default settings for the watermark image if it is used within your fact sheet images. This can save having to define watermark image settings on an image by image basis. These default settings can then be overridden if desired.
Accessing the watermark manager can be done via the main interface by the Edit…Watermarks (Ctrl+W), or wherever you see the Watermark Manager icon (![]() ) on a toolbar.
) on a toolbar.
Adding and Removing an Image
![]()
For this, you can use the Add and Remove image buttons on the toolbar. When removing an image, select it within the watermark image list then select delete. If the watermark image has been used within the fact sheets then it will automatically be removed from the image.
Watermark Image List
The image list displays all of the images that have been selected as watermark images. Selecting an image in the list will cause the watermark image settings to be loaded
Tag
The Tag field is a way to label your watermark image. By default, the image file name is used as the tag, but can be changed to whatever you desire.
Transparency Options
When selecting an image as a watermark you can select an image that supports a transparent alpha channel. For example, PNGs and GIFs. You can also select other types of images as watermarks, for example a Bitmap. If your image doesn’t support an alpha channel, you will need to define the color you wish to be come transparent when it’s applied as a watermark. Click the select button and choose the color.
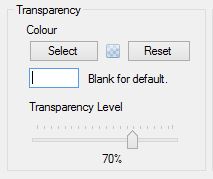
Color
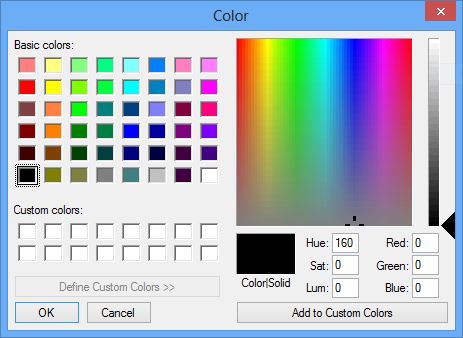
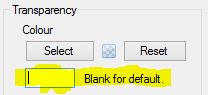
If your watermark image doesn’t support an alpha channel then you will need to define the color you wish to use. During the application of the watermark this color will be erased. You can use browse for a color or enter the Red, Green, Blue color values. Alternatively you can enter a HTML color value:
Reset
Use the Reset button to clear the color selection. This defaults back to the use of an Alpha channel.
Transparency Level
The sets how transparent the watermark image is. The transparency level can be set from 1 – 99%. The higher the value the more transparent the watermark image will be.
Size Options
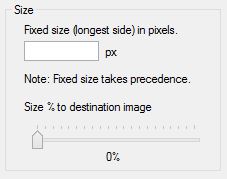
Fixed size (or Longest side) option
The Fixed size (or Longest side) option allows you to define the equivalent of a virtual square box in which the watermark is resized when applied to the destination image. If a fixed size is defined, it will take precedence over other sizing options.
Size watermark image as a percentage of the destination image
You can define the size of the watermark image as a percentage of the destination image.
Position
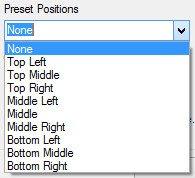
Preset Positions
This allows you to quickly set the watermark image in relation to the destination image. The preset position works in conjunction with the size option when calculating where to set the watermark image.
XY positioning
You can define an X & Y coordinate to determine where the top left of the watermark image is positioned in the destination image.
Save
To keep your watermark images settings click on the Save button. If you haven’t selected to save prior to closing the Watermark Manager you will be reminded to Save.
