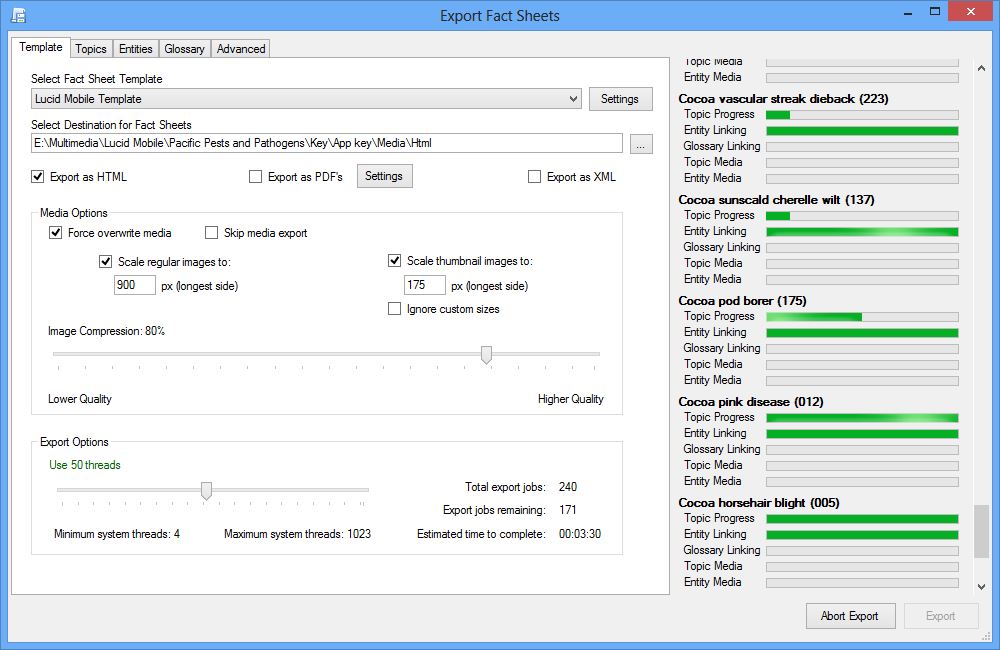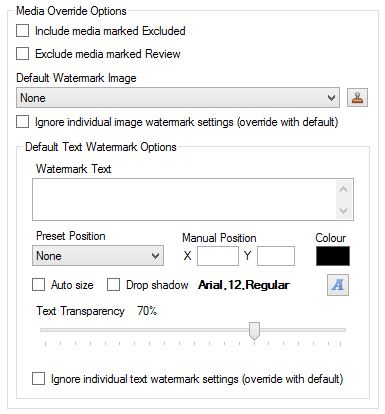
Within the Export dialog the Topics tab, Entities tab and Glossary tab have media override options associated with them. These options allow you to set specific media options for these items to, override the global options set within the Template tab of the export dialog, or override the properties set on the media item within the Media Manager or on individual derived settings of media items.
Include media marked Excluded
Selecting this option will override any media marked as excluded and include it in the export.
Exclude media marked Review
This option will allow you to exclude any media marked for Review from the export.
Default Watermark Image

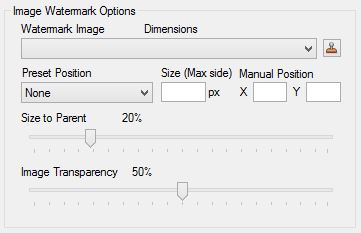
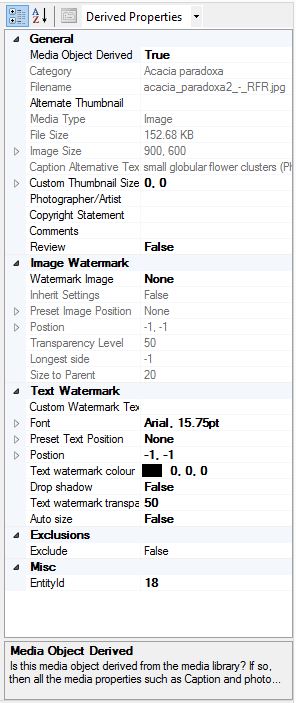
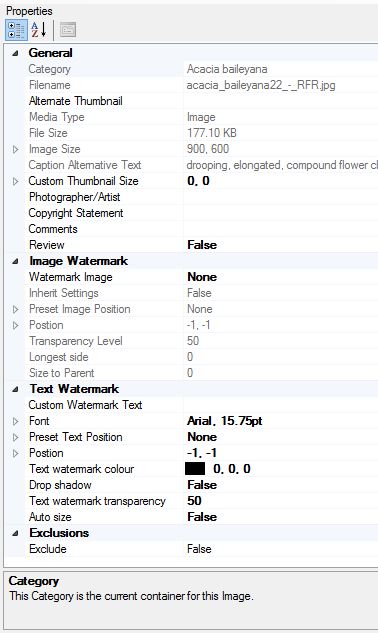
You can set a default watermark image to be applied to all images (associated with either Topics, Entities or the Glossary), using the default watermark image settings. To view or modify the selected watermark settings click on the Image Watermark Manager button (![]() ). The image watermark will only be applied to images that don’t already have image watermark settings defined, unless overridden by the Ignore individual image watermark settings option (outlined below).
). The image watermark will only be applied to images that don’t already have image watermark settings defined, unless overridden by the Ignore individual image watermark settings option (outlined below).
Ignore individual image watermark settings (override with default)

If selected, all individually applied image watermark settings applied to images will be ignored in favor of the default image watermark selected above.
Default Text Watermark Options
As with the default image watermark option, selecting this option will cause a default text watermark to be applied to all images during export, that don’t already have text watermark settings applied to them. The default text watermark can be applied to all images (associated with Topics, Entities or the Glossary), overriding individual image settings by applying the Ignore individual text watermark settings (override with default) outlined further below.
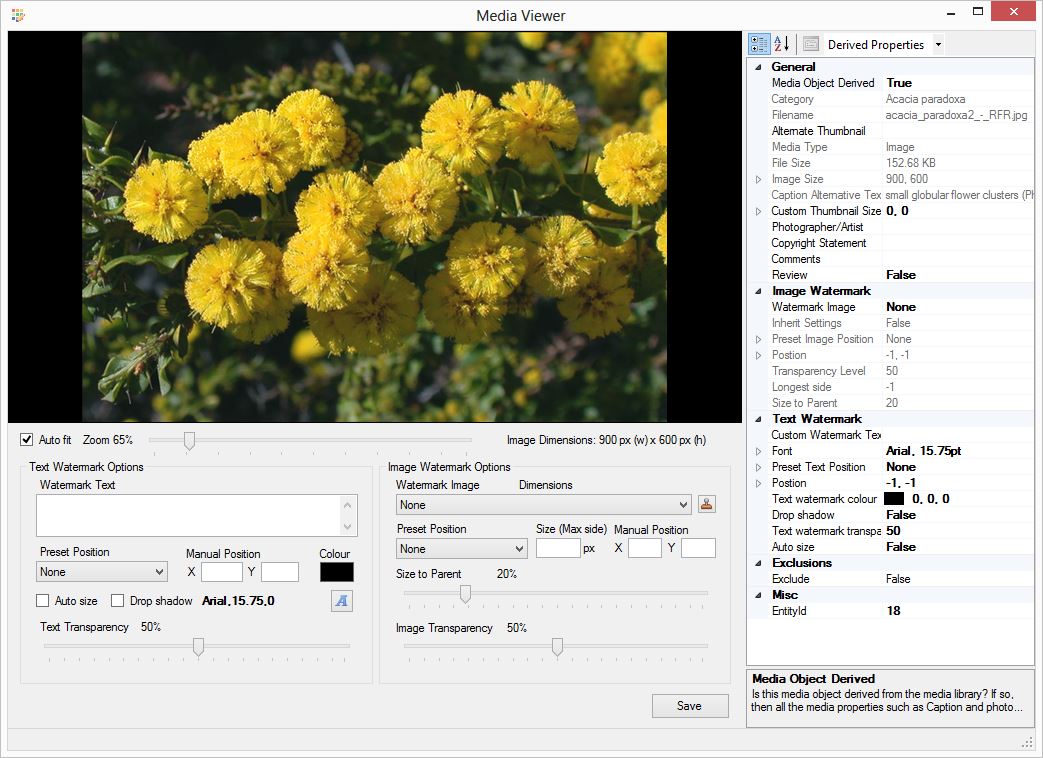
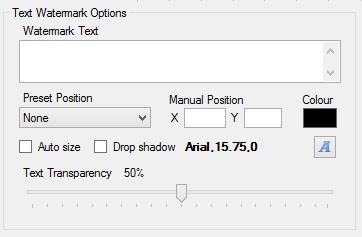
Watermark Text – Enter the text you wish to use as the watermark.
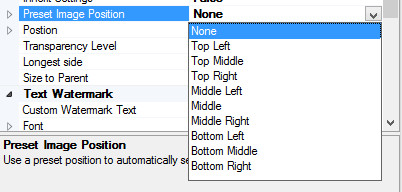
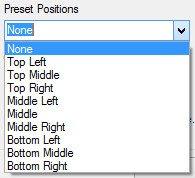
Preset Text Position – There are nine preset positions where the text watermark can be placed on the image. If a preset position is selected this will take precedence over a manually set position (see Position property below).
Position – The position property allows you to set an X & Y pixel coordinate in relation to the watermark text and the image. The text watermark will be positioned from its top left at the defined XY coordinates. Setting this property is often easier via the Image viewer as it will dynamically preview the watermark as the properties are changed. See the Image Viewer help topic for more information on this. The Position value will be overridden by the Preset Text Position if selected.
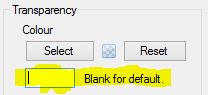
Text Watermark Color – Define the color of the text watermark.
Drop Shadow – Applies a drop shadow to the text watermark. The drop shadow can add more definition to the text making it clearer on the image it is applied to.
Font – Define the font type and size you prefer for the text watermark.
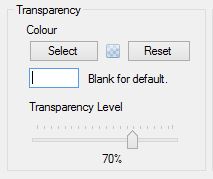
Text watermark Transparency – The transparency level of the text watermark determines how much of the underlying image shows through the text watermark. The transparency level can be between 1 and 100. The lower the value the more transparent the text will be. If the value is set too low the text may be very difficult to see in the main image. Setting a value of 100 means no transparency will be added to the text watermark.
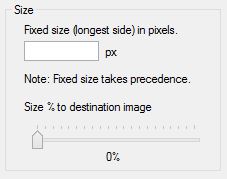
Auto Size – The auto size option automatically sizes the font based on the size of the image it’s being applied to and the position that has been selected.
Ignore individual text watermark settings (override with default)
Selecting this option will override individual image settings and apply the default text watermark to all images.