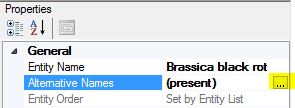
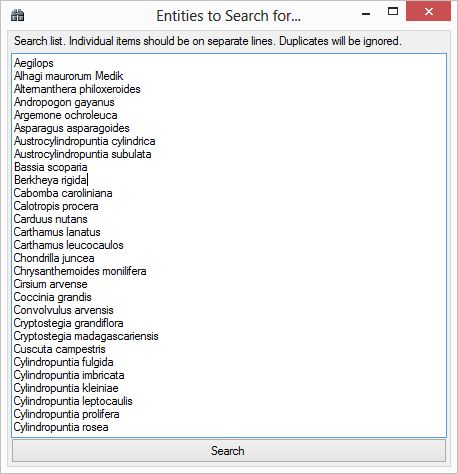
Include Alternative Names
Entities may have alternative names associated with them. If this is the case you can also have Alternate Names listed within the index page. They will be treated exactly the same as a regular entity name and will contain a link to the corresponding Entity fact sheet they are associated with – i.e. the main Entity named fact sheet. For example, you may have an Entity called Acacia that has Wattle and Thorn tree as Alternative Names. The index will contain all three names and they will all link to the same fact sheet called Acacia.
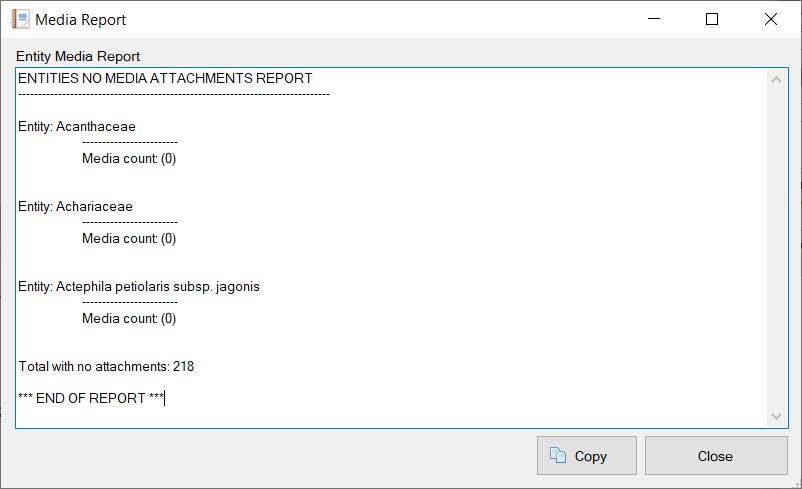
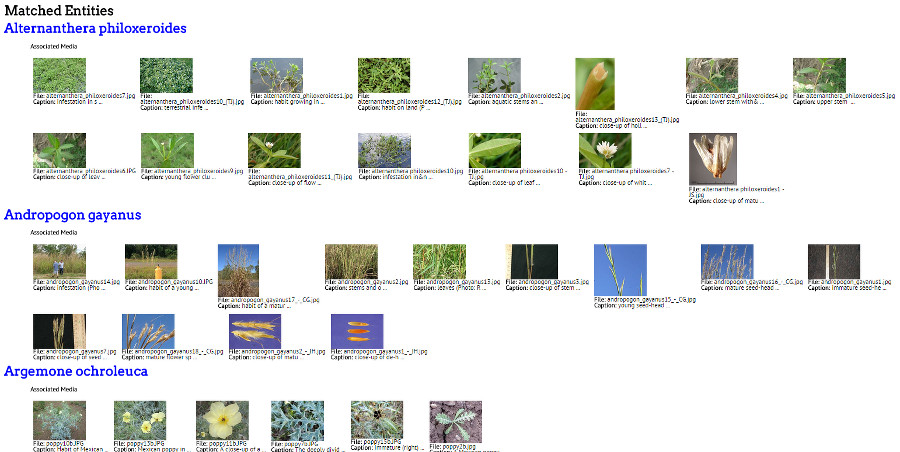
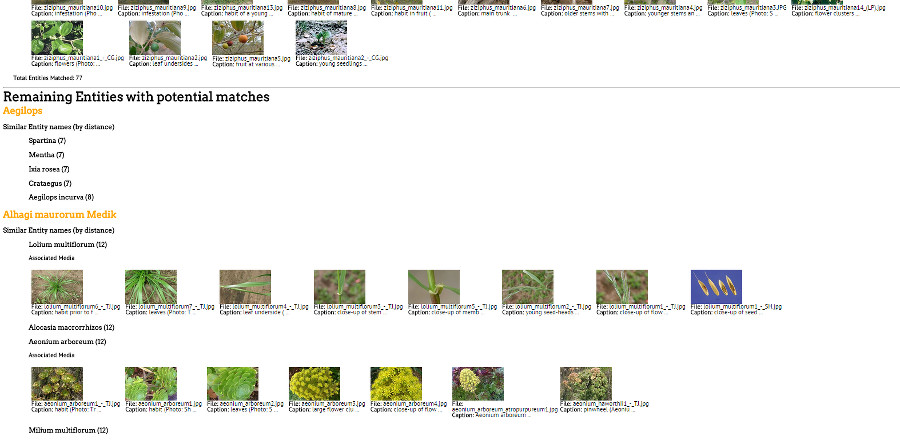
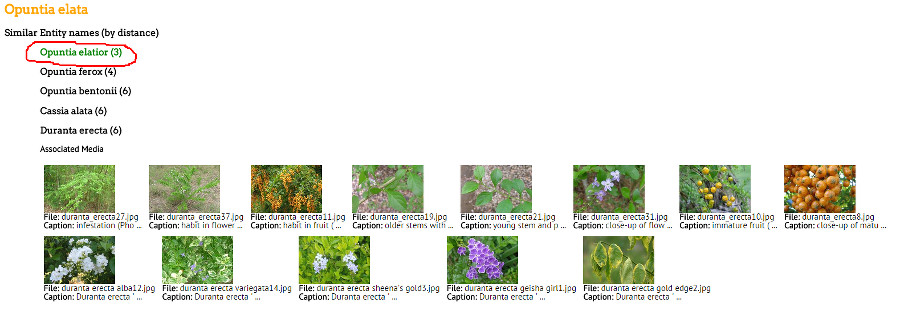
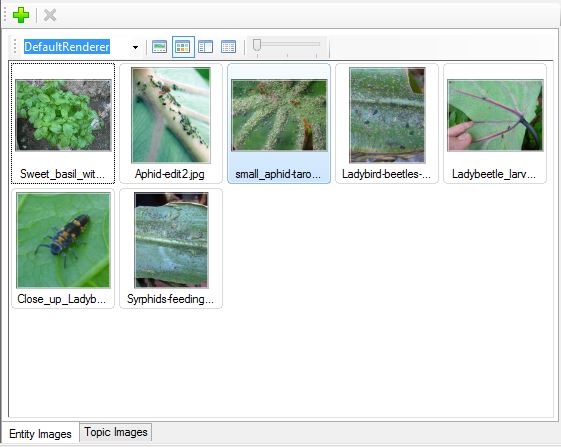
Include Media
If selected, any media associated with the Entity will also be listed within the index, if the selected export template supports this.
Include Entities marked as Excluded
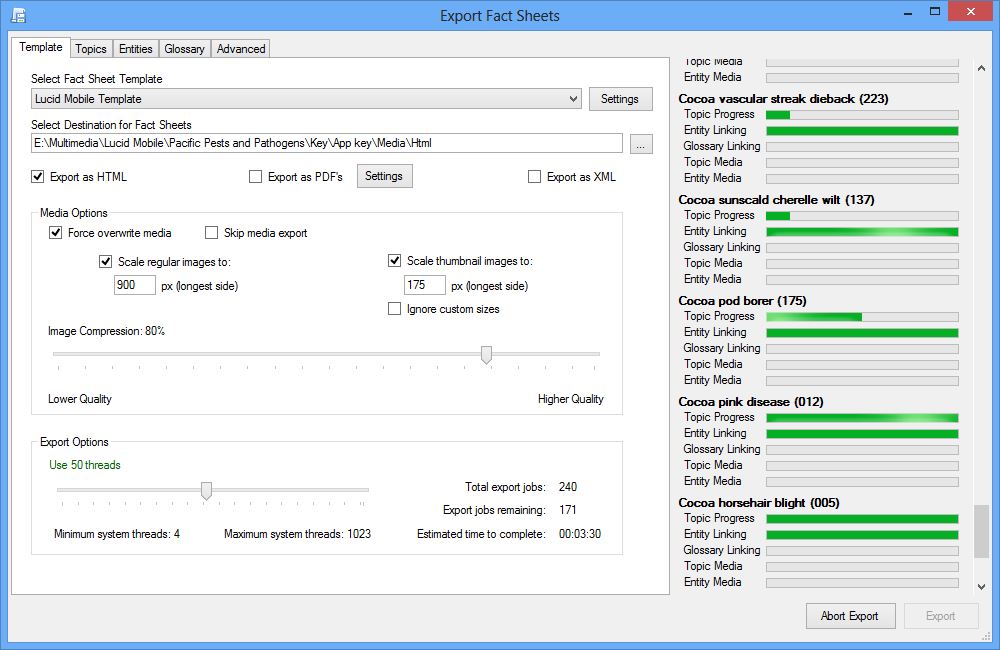
Select this option if you wish to include all Entities that have been marked to be excluded from the export.
Exclude Entities marked Review
By default, Entities marked for review are included in the export. However you can excluded these entities by selecting this option.
Index second part of Entity Name
Forces the entity sort order for the index page creation to use the second part of the entity label (if available). If you are dealing with scientific names as your entities and are creating fact sheets for a few or single genera, the index A…Z shortcuts can become superfluous.
For example, you were creating fact sheets for Eucalypts, which have over 800 species all starting with ‘Eucalyptus’, the Index A…Z shortcut menu would only be active for ‘e’ leaving the user to scroll through hundreds of species to find what’s of interest. This option allows you to sort the Index based on the second text element of the entity name, if it’s available. This generally will allow for a greater spread of names within the Index A…Z shortcut menu.
Include Inter-crosslink Entities in Topics
If selected, Fact Sheet Fusion will automatically create cross-links (hyperlinks) to Entity names it finds within the topic text.
Automatic abbreviated binomials
Often when scientific names are written they are abbreviated. For example, Escherichia coli is often referred to as E. coli. Fact Sheet Fusion can automatically look for these abbreviated names when creating cross-links. Therefore there is no need to enter the abbreviated name as an alternative name.
Include Alternative Names
Fact Sheet Fusion can also look for alternative names when cross-linking content. Cross-links on alternative names always link back to the Entity named fact sheet.
Override Inter-crosslinking exclusions
Using this option you can override topics that have been set to exclude cross-linking.
Inter-crosslink Glossary in Topics
If selected, Fact Sheet Fusion will cross-link on any glossary terms that are found within the Topic text.
Glossary cross-linking limit
By default, Fact Sheet Fusion will cross link on every instance of a found glossary term with the the topic text. The Glossary Cross-linking limit option allows you reduce the number of times a term is cross linked within the topic text to either 1, 2, 3, 4, 5. Unlimited (Default).