
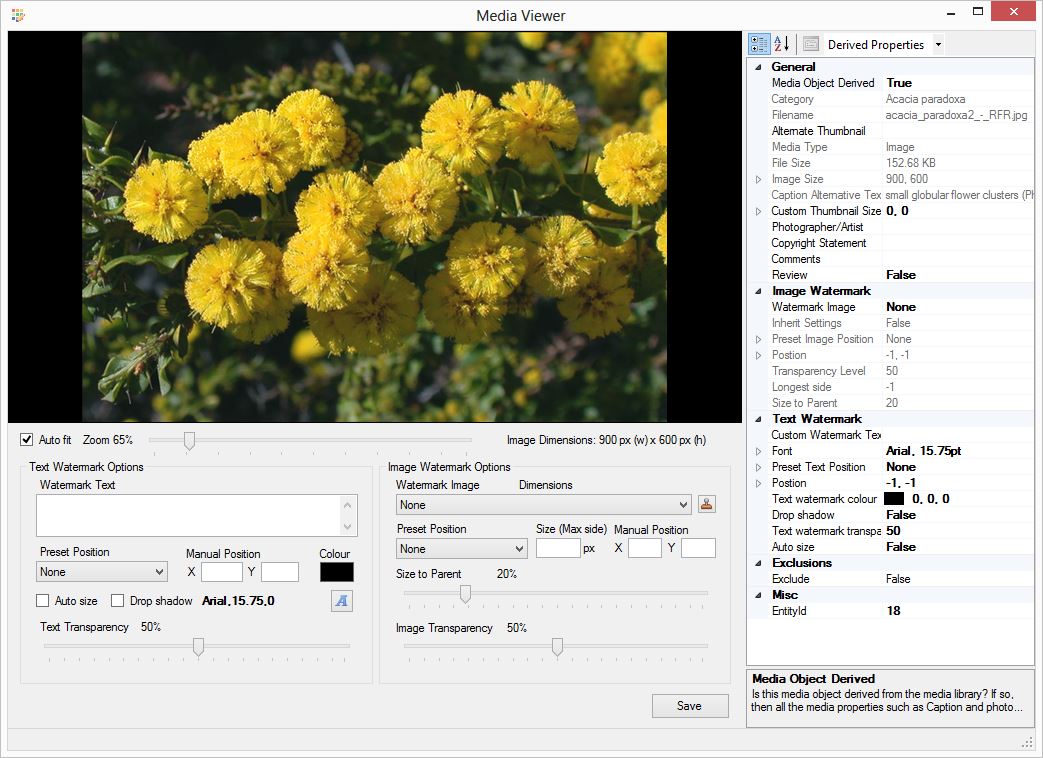
The Image Viewer is a tool that enables you to preview an image, while adjusting watermark options. The Image Viewer can be accessed by double clicking on an image within the Media Manager, or double clicking an image within the main interface or Glossary Manager.
If you open an image via the Media Manager then all of the options in the Image Viewer are immediately available to modify since it is the library edition. If you open the image into the Image Viewer via another interface, then options may not be immediately available to edit. A reminder will be shown next to the Save option.

If the image is being derived from the library edition then the image options are available to edit, since it has it’s own settings and values from the library edition of the image. You can use the Image Viewer to edit the Library properties or a derived properties of an image.
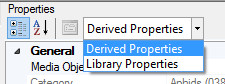
Located at the top of the Properties is a drop down option to switch between the Library and Derived view.
Auto fit
The Auto fit option automatically resizes the image while maintaining the aspect ratio to fit within the image area even if the Image Viewer is resized. The Auto size automatically adjust the zoom option.
Zoom – The Zoom option dynamically resizes the image displayed in the image area while maintaining the aspect ratio. Note that the image resizing is not saved over the original image located in the Fusion media store.
Image Dimensions – The dimensions, in pixels, of the selected image are displayed here.
Text Watermark
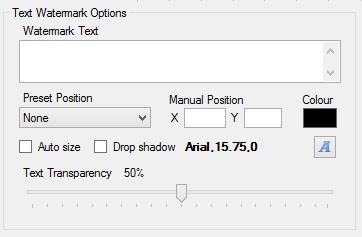
Watermark Text – Enter the text you wish to use as the watermark.
Preset Position – There are nine preset positions where the text watermark can be placed on the image. If the present position is selected this will take precedence over a manually set position (see Position property below).
Manual Position – The position property allows you to set an X & Y pixel coordinate in relation to the watermark text and the image. The text watermark will be positioned from its top left at the defined XY coordinates. Setting this property is often easier via the Image viewer as it will dynamically preview the watermark as the properties are changed. The Position value will be overridden by the Preset Text Position if selected.
Color– Define the color of the text watermark.
Auto Size – The auto size option automatically sizes the font based on the size of the image it’s being applied to and the position that has been selected.
Drop Shadow – Applies a drop shadow to the text watermark. The drop shadow can add more definition to the text making it clearer on the image it’s applied to.
Font – define the font type and size you prefer for the text watermark.
![]()
Text Transparency – The transparency level of the text watermark determines how much of the underlying image shows through the text watermark. The transparency level can be between 1 and 100. The lower the value the more transparent the text will be. If the value is set too low the text may be very difficult to see in the main image. Setting a value of 100 means no transparency will be added to the text watermark.
Image Watermark
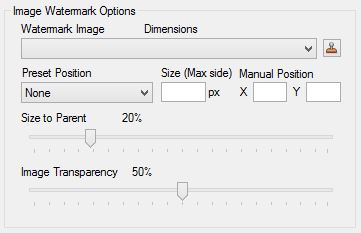
Watermark Image – A drop down list shows all watermark images that have been added to the project via the Watermark Image Manager. See the Watermark Image Manager for more information on this topic. The Watermark image dimensions are also displayed above the drop down list.
Present Position – This setting is only available if a Watermark image has been selected and the Watermark Image Inherit settings are set to False.
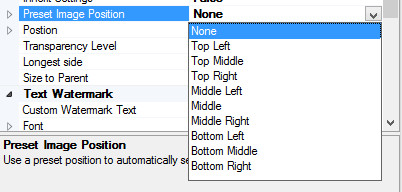
There are nine preset positions where the image watermark can be placed on the image as shown in the screen capture above. If a present position is selected this will take precedence over a manually set position (see Position property below).
Longest side – You can set the size of the watermark based on the longest side, measured in pixels. This effectively is like defining the size of a square box that the watermark image must fit within while maintaining its aspect ratio. A watermark image will not be resized beyond its actual size if the longest size exceeds this value. Also if the longest side value exceeds the exported image size the watermark will be resized to fit within the image boundary.
Manual Position – The position property allows you to set an X & Y pixel coordinate in relation to the watermark image and the main image. The watermark image will be positioned from its top left at the defined XY coordinates. Setting this property is often easier via the Image viewer as it will dynamically preview the watermark as the properties are changed. The Position value will be override by the Preset Image Position, if selected.
Size to parent – You can define a percentage value for the watermark to the parent image using the slider bar. The Size to Parent value must be between 1 and 100.
Transparency Level – The transparency level of the watermark image determines how much of the underlying image shows through the watermark. The transparency level can be between 1 and 100. The lower the value the more transparent the watermark image will be. If the value is set too low, the watermark image may be very difficult to see in the main image. Setting a value of 100 means no transparency will be added to the watermark image.
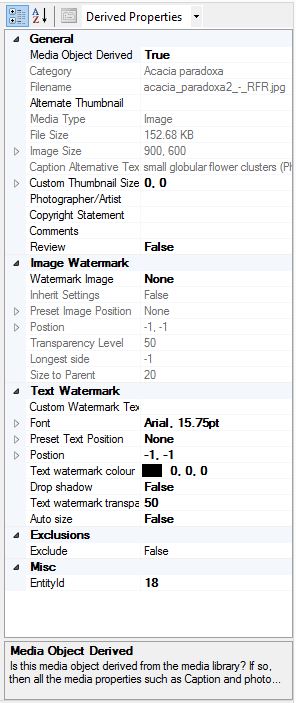
Properties
The Properties display on the left hand side of the Image Viewer interface reflects all the settings and values that can be applied to the image. If a property value associated with watermarking is changed then the change will be reflected in the separate watermark options and vice versa.
Save
To save any changes made to the image properties click the save button. If changes have been made to the properties and you close the Image viewer you will be reminded to save (if desired) before the form is closed.
Move between images
The Image Viewer allows you to move forwards and backwards between the images contained within the selected image category. You can access the next and previous buttons on the left and right edges of the image preview. The next and previous buttons are only available when the image category contains more than one image. The buttons will appear when the mouse moves over the left and right edges of the image preview area.