
The HTML Editor is ‘text’ editor for the entering topic text and caption text within your project.
Full Toolbar

Mini Toolbar

Heading Selector
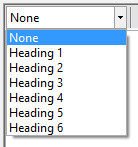
The heading selector allows you to select between several standard heading sizes. The heading size is applied to the currently selected line. A heading size can be removed by selecting the ‘None’ option. The heading size and style in the editor are only indications of the heading style. The selected fact sheet template will define the actual size and font type.
![]()
Cut
Any highlighted text will be cut from the editor to the clipboard.
 Copy
Copy
Any highlighted text will be copied to the clipboard.
 Paste
Paste
If the clipboard is not empty then the contents of the clip board will be pasted at the position of the cursor.
 Undo
Undo
Will undo the last action performed. If the Undo button holds a history of steps performed within the editor, you can undo actions performed, such as delete, paste and typing, until the history is exhausted.
 Redo
Redo
The redo action will redo any step that may have been undone by the Undo action.
 Bold
Bold
Increases the importance of any selected text or makes any new text important from where the cursor is located. To remove bold text, highlight the desired portion and select bold again.
 Underline
Underlines any text selected; or makes any new text underlined from where the cursor is located. To remove underline from text, highlight the desired portion and select underline again.
 Italics
Emphasizes any selected text; or makes any new text italicized from where the cursor is located. To remove italics from the text, highlight the desired portion and select italic again.
 Edit Font
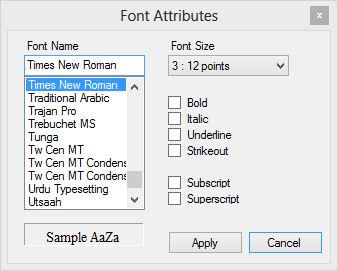
The edit font dialog will allow you to change the underlying font settings. However it is recommended that this facility is used only where absolutely necessary. Defining font settings within the HTML content will override the export template. Therefore it would be possible to cause a mis-match of font types within the exported fact sheet.
 Normal (Remove font styles)
The Normal option removes any applied font styling from the selected text.
 Edit Font Color
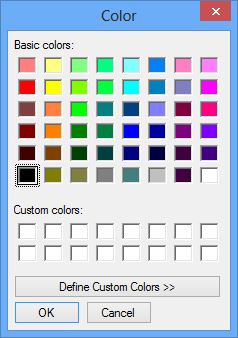
The font color dialog will allow you to change the font color of the selected text. However any font styling, including color, will override the export template.
 Increase the Font Size
This will increase the selected text font size incrementally each time it is selected. You can remove font sizing via the Normal option or reduce the font size using the Decrease font size option.
 Decrease the Font Size
This will decrease the selected text font size incrementally each time it is selected. You can remove font sizing via the Normal option or increase the font size using the Increase font size option.
 Left Justify
Positions selected text to the left of the text edit area.
 Center
Positions text center in the text edit area.
 Right Justify
Positions text to the right of the text edit area.
 Indent
Moves the text a fixed amount to the right equivalent of one tab.
Outdent
Moves the text a fixed amount to the left equivalent of one tab.
 Insert Ordered List
This option starts a numbered list. Each new line within the list is automatically assigned the next sequential number. The Indent and Outdent options can be used within the ordered list to create sub lists with their own sequential values.
 Insert Unordered List
This option starts an unordered (bullet) list. Each new line within the list is automatically assigned a bullet icon. The Indent and Outdent options can be used within the ordered list to create sub lists with their bullet style. The style applied to each level within the list is determined by the web browser and the font used. This styling can be, easily overridden by the export template.
 Insert Line
This option inserts a horizontal line at the position of the cursor.
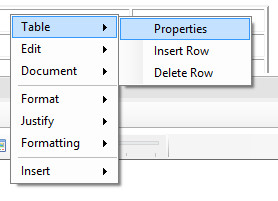
 Insert Table
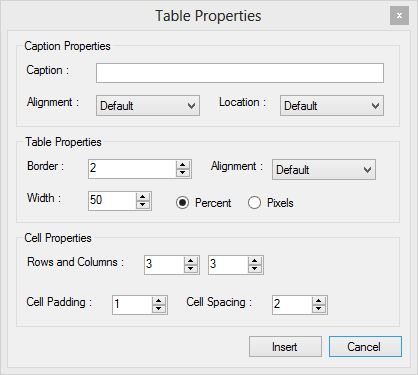
This dialog allows you to define the properties of a table to be inserted into the text edit area. Once the table has been created it can be easily modified by right clicking within the table area and selecting the table edit options.
 Insert Image
This option has been disabled in this edition and may be added in a future release. If you wish to associate an image with a topic you can do so via the Topic Image tab or an image can be associated with the entity. The selected export template will then determine the layout and positioning of the image. Alternatively if you do wish to embed an image from an Internet location you can use the editing pop-up context menu to insert an image. If an image is embedded this way, the browser loading the exported page will need Internet access to display the image.
 Insert Link
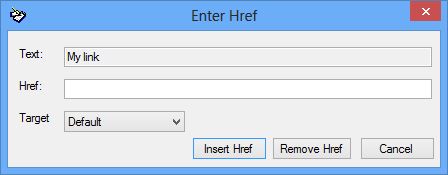
This options allows you to create a link on highlighted text. If you are creating a link you can set the target (i.e. New window or the same window). The Href (hyperlink) should be a fully qualified URL (e.g. https://www.lucidcentral.org)
Find/Replace
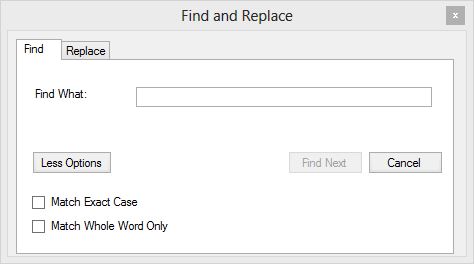
The find dialog will search for given text within the current editor’s text area.
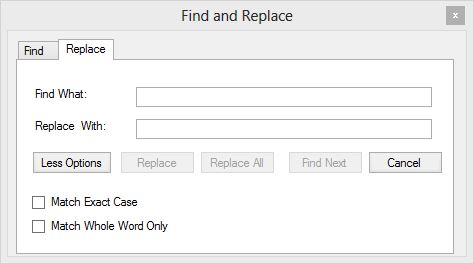
The replace option allows you to perform a find and replace within the current text area.
 Print
Print
This option allows you to print the current text area content. It will open a print dialog allowing you to select your preferred printer and page options.
 Clean HTML
Often when Microsoft Word content (or content of other Office applications) is pasted into the HTML editor, it is pasted with Microsoft Office HTML formatting, which will override the exported fact sheet template styles. The Clean HTML function is designed to remove most Microsoft Word HTML formatting, leaving the equivalent styling where possible, but without the use of embedded styles. This will leave the formatted content looking similar to “plain text”, but will generally look much better in the exported format once the template has been applied.
Also see Global Topic Clean options.
Code Tab
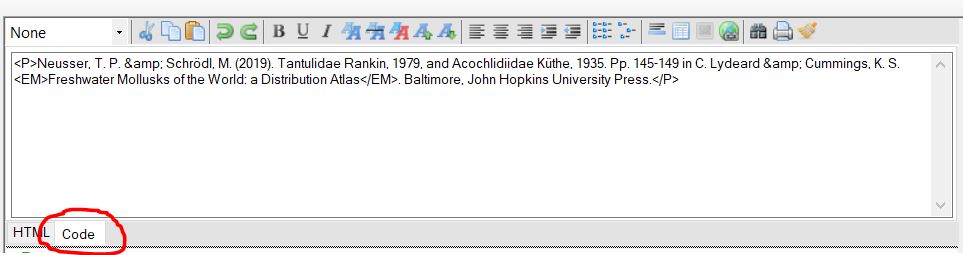
The Code tab within the HTML editor allows you access to the underlying HTML markup of the document. If you are comfortable with HTML you can edit the HTML markup directly. Switching back to the HTML tab will update the document with any changes that have been made. It is very important to maintain well formed HTML code within the HTML editor. That is, each HTML tag must have a start and end tag (other than breaking return tags (<br>) and horizontal lines (<hr>)).
If errors are made in the simple mark up, the editor will try and correct for this, i.e. append missing end tags, although in more complex tags, such as tables etc, this may not work. If “broken” HTML tagging is left within the editor this may affect the exported fact sheet with either an error when exporting or unexpected layout and formatting.