Templates
Fact Sheet Fusion templates are based on the following Internet standards called XML and XSL (eXtensible Stylesheet Language) and XSLT (XSL Transformations).
The following is not a tutorial on XML or XSLT. For further information on these standards please see the World Wide Web Consortium’s website https://www.w3.org.
A Fact Sheet Fusion template consists of the following components:
- Template Settings Document
- Style Sheets
- JavaScripts
- Template interface images
- XSLT documents
Here is a screen shot of a typical template folder:
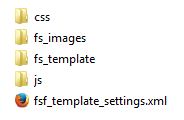
Each of these elements are described below.
Template Settings document
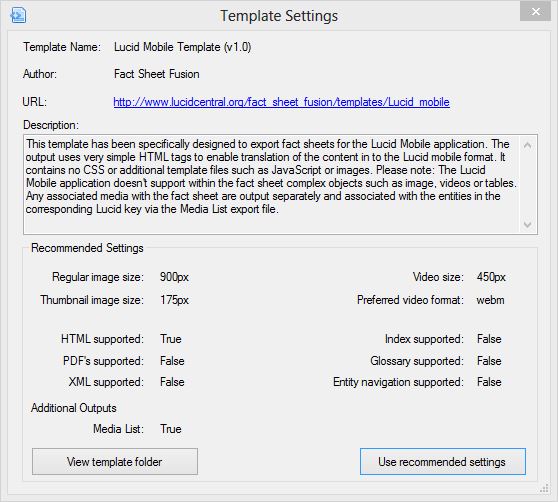
The fsf_template_settings.xml document is an XML description of the template that contains all the settings and recommendations associated with a template. The template author provides this along with the template.
The Template Settings document must be called ‘fsf_template_settings.xml‘, UTF-8 encoded and well formed. Each Template must contain a unique name.
The following example Template Settings document content contains all available options:
<?xml version="1.0" encoding="utf-8"?>
<FSF_Template name="Lucid Mobile Template" version="1.0">
<Author>Fact Sheet Fusion</Author>
<Description>This template has been specifically designed to export fact sheets for the Lucid Mobile application. The output uses very simple HTML tags to enable translation of the content in to the Lucid mobile format. It contains no CSS or additional template files such as JavaScript or images. Please note: The Lucid Mobile application doesn't support within the fact sheet complex objects such as image, videos or tables. Any associated media with the fact sheet are output separately and associated with the entities in the corresponding Lucid key via the Media List export file.</Description>
<URL>http://www.lucidcentral.org/fact_sheet_fusion/templates/Lucid_mobile</URL>
<Settings>
<Regular_Images>900</Regular_Images>
<Thumbnail_Images>175</Thumbnail_Images>
<Video format="webm">450</Video>
<JavaScript_Entity_Array>false</JavaScript_Entity_Array>
<MediaList>true</MediaList>
<Index>false</Index>
<Glossary>false</Glossary>
<HTML>true</HTML>
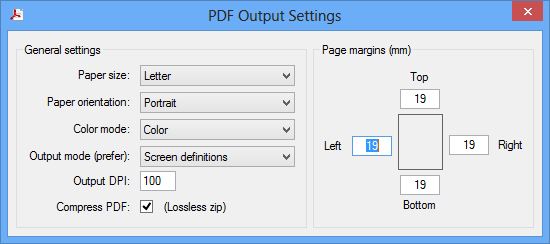
<PDFs>false</PDFs>
<XML>false</XML>
</Settings>
</FSF_Template>
For more information on template settings see the Template Settings dialog.
Style Sheets
Cascading Style Sheets (CSS) are the rules that define the look and formatting of document written in markup language (E.g. HTML based fact sheets). Style sheets save you from having to apply styles and formatting to every text element during data entry. A template can have one or more style sheets associated with it. They are normally located in the CSS folder and have a .css file extension.