Glossary Terms Report
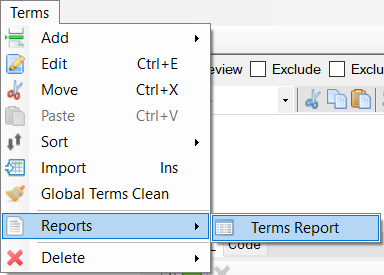
The Terms Report will report on all the terms for the selected Glossary Set. The report will cover the term properties such as ‘Review’, ‘Exclude’ and ‘Alias Of’ etc. It will also give a media attachment count for each term.
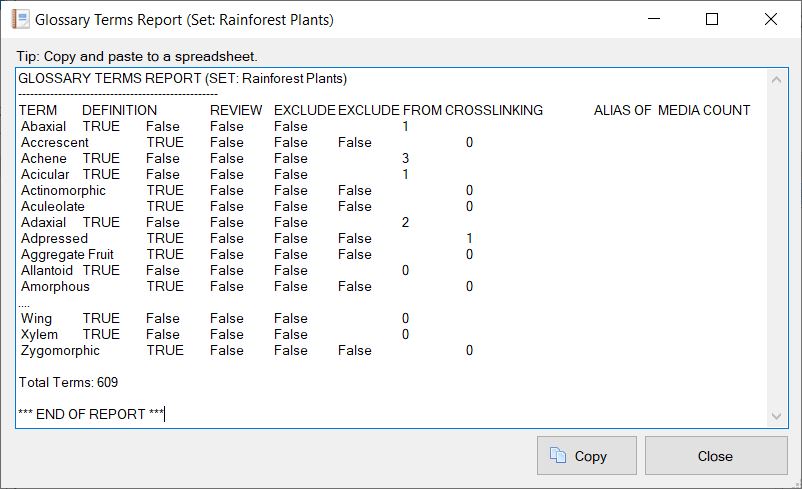


The Terms Report will report on all the terms for the selected Glossary Set. The report will cover the term properties such as ‘Review’, ‘Exclude’ and ‘Alias Of’ etc. It will also give a media attachment count for each term.


The Glossary Manager is where you can manage all the glossary terms associated with your project. You can access the glossary manager via the main interface menu Edit…Glossary Manager (Ctrl+G). Alternatively you can access the Glossary manager
(![]() ) from a toolbar.
) from a toolbar.

The Glossary preview option will export the glossary sets and allow you to preview the exported glossary page (e.g. glossary.htm; glossary.xml or glossary.pdf) in your preferred web browser or PDF reader. Before the glossary can be exported, a minimum set of export preferences need to be defined. If these export preferences have not yet been set, the export dialog will automatically open to allow you to set your preferences. For example, you must select an export template and destination. You may specifically set your glossary export preferences relating to cross linking in the export dialog under the Glossary tab. For more information on this please see the Export dialog help.
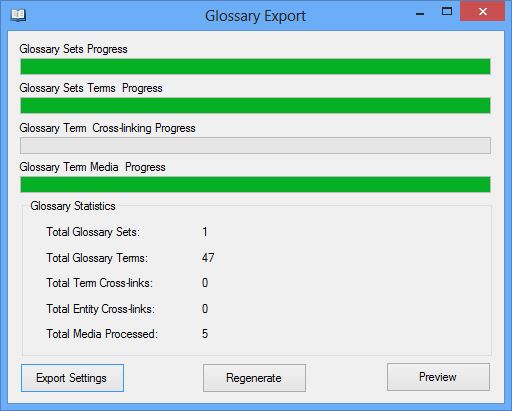
The export progress will be shown for Glossary Sets, Terms, Cross-linking and media processing. Once the glossary export has completed a set of simple export statistics will be shown and the preview button will become enabled.
Export Settings – Will open the Export Settings dialog allowing you to make any export adjustments.
Regenerate – This will cause the glossary to be exported again. This is useful if you have made changes to the export settings since the last preview.
Preview – This will open the exported glossary in either your preferred web browser; Or, if exported as a PDF, your preferred PDF reader.
This will open the media manager. Please see the Media Manager for further information on this topic.
This option will open the watermark manager. Please see the Image Watermark Manager for further information on this topic.
A glossary set is a container for glossary terms. To enter glossary terms requires at least one glossary set. Multiple glossary sets are useful if you wish to group related terms within the exported glossary page. For example, if you were creating a set of fact sheets that covered both plants and animals you may want to create a specific set of terms for each of these groups as they may have terms that are the same but with different definitions. Or as another example you may just wish to group novice and expert terminology separately. Normally each Glossary Sets has it own alphabetical index within the glossary as shown in the example below. However this is entirely determined by the underlying export template.
There are a number of ways to add a Glossary Set:

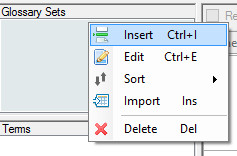
Duplicate set names are not allowed within the same project.
Once a Glossary Set has been added you can edit its name at anytime. To rename a Glossary Set select it, then from the Set menu or context pop-up menu (Ctrl+E) select the Edit option.

You can sort Glossary Sets alphabetically (Ascending or Descending) or manually sort them via drag and drop. The alphabetical sort options are available via the Set menu or the context pop-up menu. To sort manually select the desired Glossary Set then hold down the left mouse button and drag the Glossary Set to the preferred position in the Glossary Set list, then let go of the mouse button to drop it into position.
Highlight the Glossary set you wish to delete then either select the delete option from the Set menu, context pop-up menu, or simply press the delete key on your keyboard. You will receive a deletion confirmation warning before the delete occurs. You should make special note that all Glossary Terms within the Glossary Set will also be deleted. There is no undo to this action. You may want to move Glossary Terms from the Glossary Set prior to deleting. For more information on moving Glossary Terms see the Glossary Terms section below.
Glossary Terms are made up of a term and its definition. In order to add Glossary Terms you must define one or more Glossary Sets. You can add Glossary Terms in several different ways.
Select the desired Glossary Set you wish to add the term to. Then you can add the Term by either:

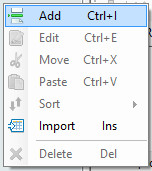
Duplicate Terms are not allowed within the same Glossary Set.

The definition is the explanatory text of the Term. Definition text is HTML based with the standard HTML editor options.

If a term is marked for Review, this can be used to determine if it should be included in the export process.
This marks a Term that should be excluded in the export process. Note: It is possible to override records marked as Excluded in the Export dialog, if desired.
If checked, this option will prevent the export process from cross-linking other terms and entities within the definition text.

Aliases are alternative names to a given term. This allows the entry of additional related term names without duplicating the definition. It also allows the possibility of cross-linking where this alternative name is used within other terms or fact sheet topics. To create an alias term, create a new term, then simply select the root term from the ‘Alias Of’ drop down list. This alias term will then inherit the root terms properties and disable the term options such as Review and Exclude. To change an alias term back to a regular term, select the ‘Not an Alias’ from the ‘Alias Of’ drop down list.
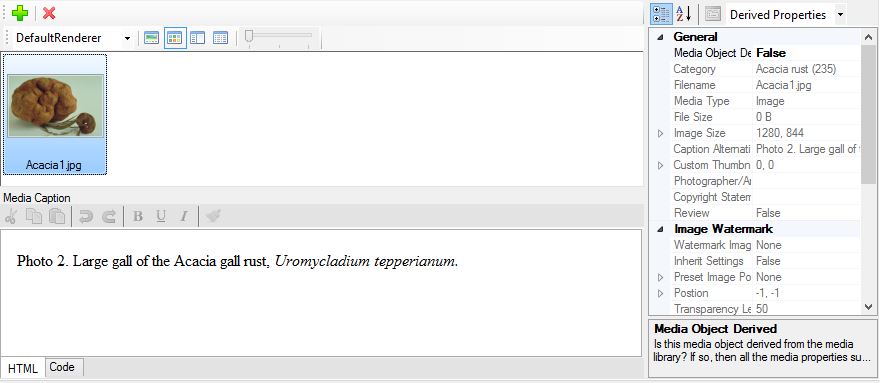
One or more media items can be linked to a Term. Media Properties are accessible via the Glossary media panel along with the Media Caption. Please see Media and Media Manger help topics for further details on dealing with media.
If the Media Properties and/or Media Caption are read-only, then they are currently being inherited from the Media Manager. If you need to customize the caption text or media properties just for this instance, then set the media object derived properties to True.
(Available from version 2.05.208)
To import terms and their definitions you first must have a Glossary Set selected. (See above on Creating Glossary Sets).
From the File menu of the Glossary dialog select the ‘Import CSV’ option.
Next, select your CSV file containing the terms and definitions. The CSV file, if valid, will be imported and the Glossary Terms list updated.
It is important to note that any existing term definitions will be replaced by the CSV definition, where an existing term and CSV term matches.
The CSV format is a simple two column, comma (,) separated list of values.
Column one should contain the term. Column two should contain the term definition.
Column two, containing the term definition can either be plain text or contain HTML formatting.
Standard CSV formatting applies to the file.
E.g., The most basic CSV format:
My glossary term 1, Definition of the glossary term 1
My glossary term 2, Definition of the glossary term 2
My glossary term 3, Definition of the glossary term 3
…
If the term or definition text contain the column separator (i.e., a comma) then the term and/or definition text needs to wrapped in double quotes.
E.g.,
“My glossary term, 1“, Definition of the glossary term 1
My glossary term 2, “Definition of the glossary term, 2“
“My glossary term, 3“, “Definition of the glossary term, 3“
…
If the term or definition text contain double quotes these need to be escaped with an additional double quote.
E.g.,
“My glossary term, “”1“”“, Definition of the glossary term 1
If any errors are reported after the CSV import is completed these can be found in the Fact Sheet Fusion log, which is accessible via the Main dialog Help…About menu option.
