Glossary Terms Report
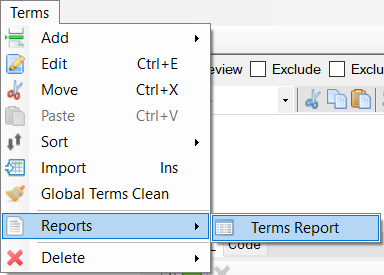
The Terms Report will report on all the terms for the selected Glossary Set. The report will cover the term properties such as ‘Review’, ‘Exclude’ and ‘Alias Of’ etc. It will also give a media attachment count for each term.
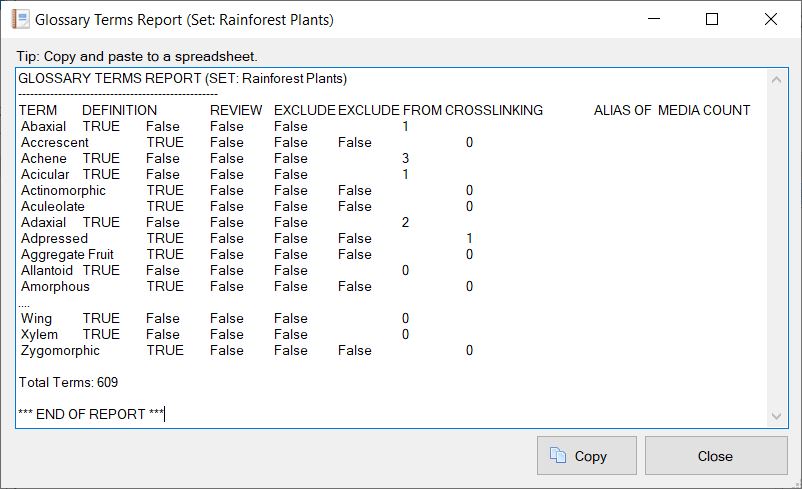


The Terms Report will report on all the terms for the selected Glossary Set. The report will cover the term properties such as ‘Review’, ‘Exclude’ and ‘Alias Of’ etc. It will also give a media attachment count for each term.


Fact Sheet Fusion offers several Entity reports, which can be accessed via the Entities…Report menu.
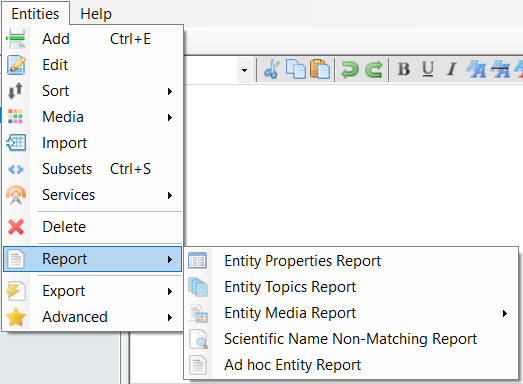
Entity properties such as ‘Exclude’, ‘Review’ and ‘Exclude as Heading’ can be reported on for all entities within the current project. This report allows reviewing the entity properties faster than reviewing each entity properties in turn, via the interface.
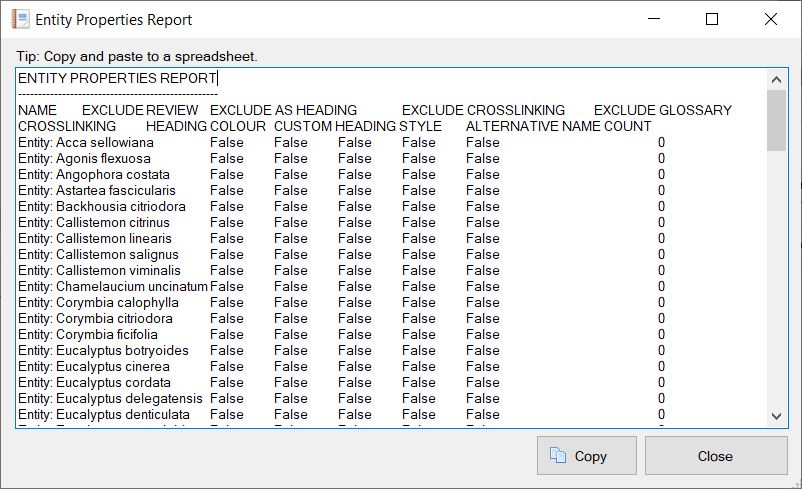
Copy and paste the report output to a spreadsheet application where the tab separated values will display in columns. You can then sort and query the report.
This report will let you quickly assess which topics have text for each of the entities. It also indicates if the entity has any alternative names associated with it.
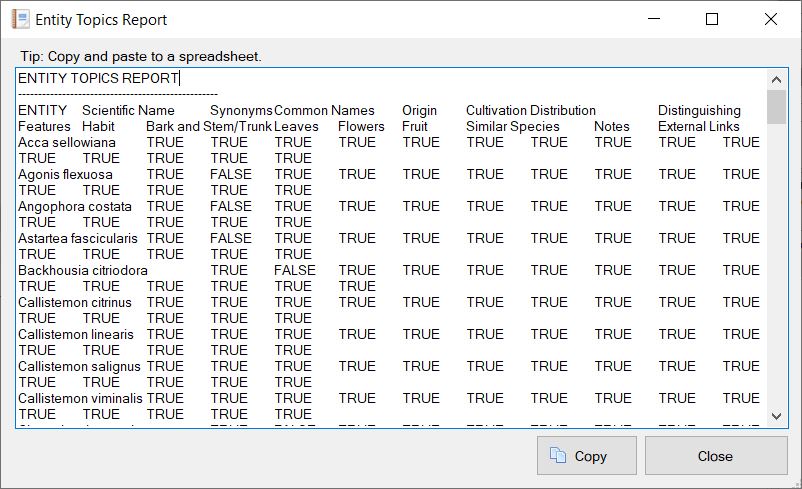
Copy and paste the report output to a spreadsheet application where the tab separated values will display in columns. You can then sort and query the report.
The value 'TRUE(EMPTY)' indicates that the topic for the entity has value which would cause its inclusion in the fact sheet sheet, however it would appear as empty (no topic text). For example, if the Topic text contain HTML code such as '<div> </div>'. The empty rendering check only looks for common tagging issues and will not catch all possible scenarios where empty topic text may be rendered to the fact sheet.
Entity Media Report
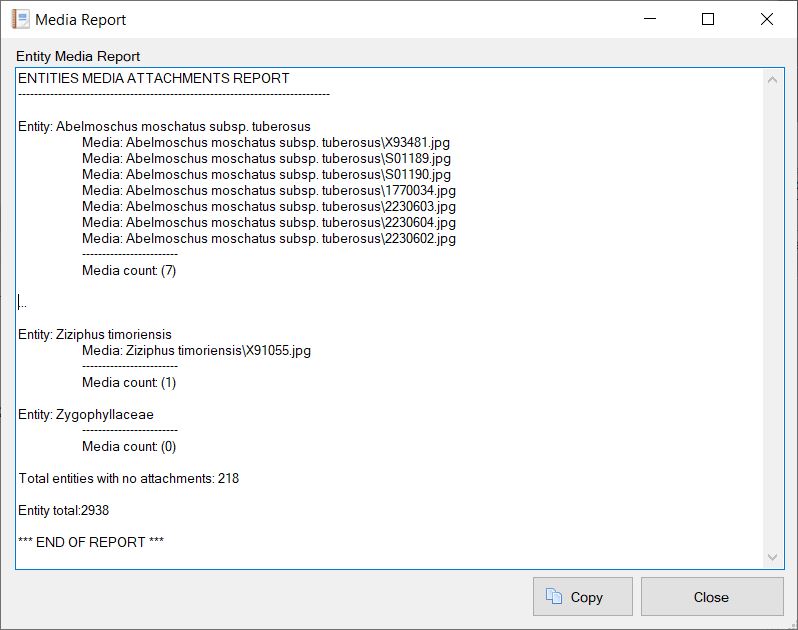
This report will list all media attached to the entities in the currently opened project. It will also indicate entities without media attachments. A separate report is available for just checking on Entities without media attachments. See next report below.
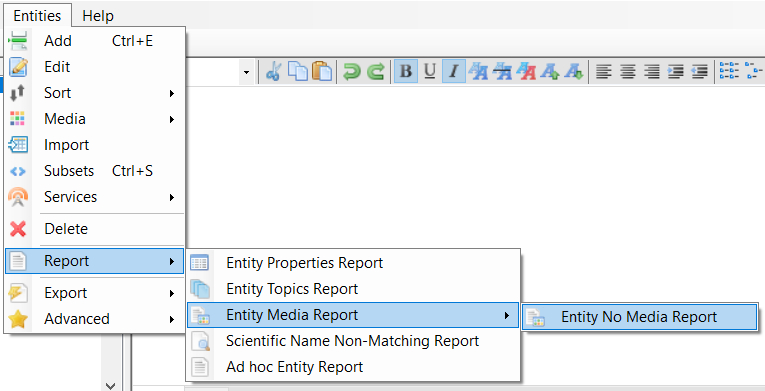
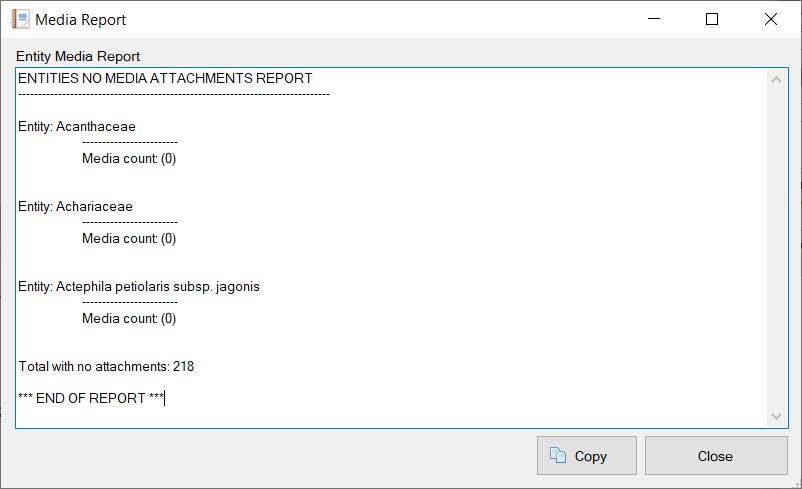
Reports on entities that have no media attachments for the current project.
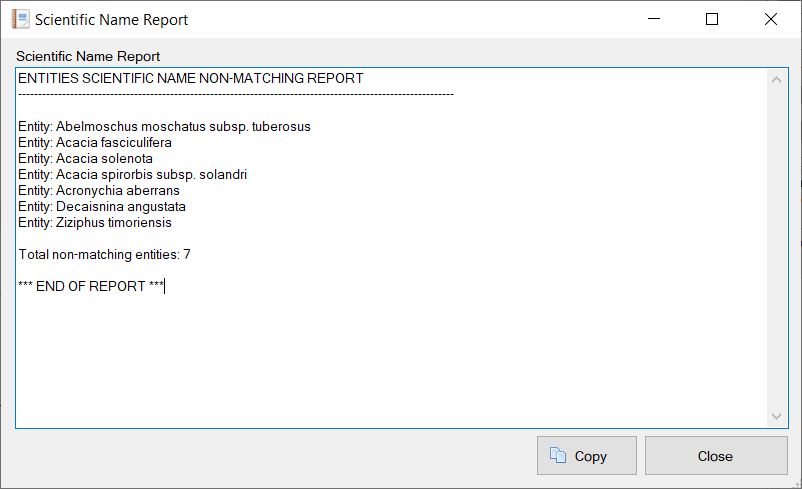
If you have a ‘Scientific Name’ topic, you can check if the entity label now differs from the scientific name topic text (if was automatically generated via the Advanced Entity Options…Create Scientific Name topic option. For example, you may have corrected a spelling mistake within the entity label, but forgot to amend the Scientific Name topic text.

Often when dealing with large data sets it can be useful to search across the set based on a list of one or more Entities. When managing our own data sets we are asked “I have a list of species. Do you have any of these?”. Rather than manually searching through the list of entities you can now use the Ad hoc Entity Report.
To begin with one or more Entities need to be supplied to search. You can add these via the ‘Entities to Search for…‘ dialog as shown below:
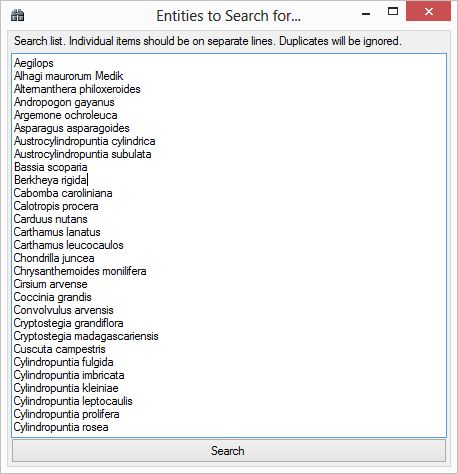
Once one or more entities have be provided to the Ad hoc Entity report dialog, these are searched for across the current projects Entity list and their alternate names. Any matches will be listed in the ‘Matched Entities’ list box, while close matched (by distance) will be listed in the ‘Similar Entities‘ list box.
If you are only interested in exact matches then you can untick the ‘Include up to [x] similar Entities’ check box, before clicking the Report button. Otherwise you can select the top 1-20 similar species to be included in the report. The Report button will then ask for a location in which to save the report. Once saved, Fact Sheet Fusion will then automatically open the report in your preferred web browser.
The report uses the following layout:
Matched Entities
[Entity Name] (Synonym of: )
Associated Media
[Entity Media]
File:
Caption: …
Total Entities Matched:
—————————————————–
Remaining Entities with potential matches
Entity
Similar Entity names (by distance)
Entity Name ()
Associated Media
[Entity Media]
File:
Caption: …
Total non-matched entities:
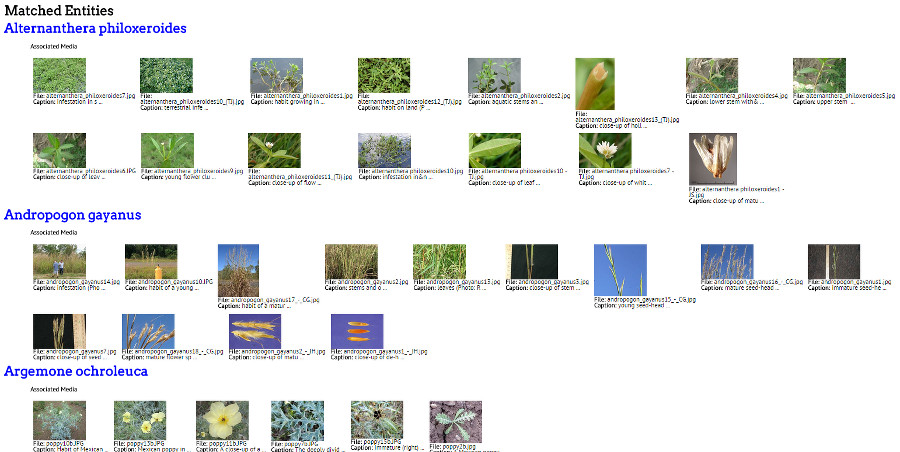
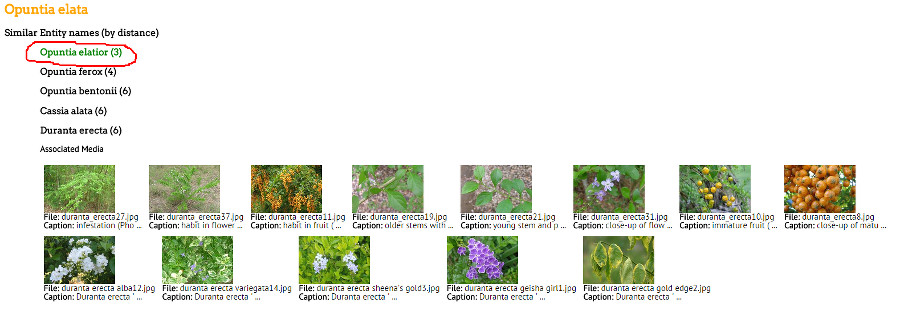
Example section of a report showing matched entities:
Example section of the end of matched Entities and the start of similar Entities:
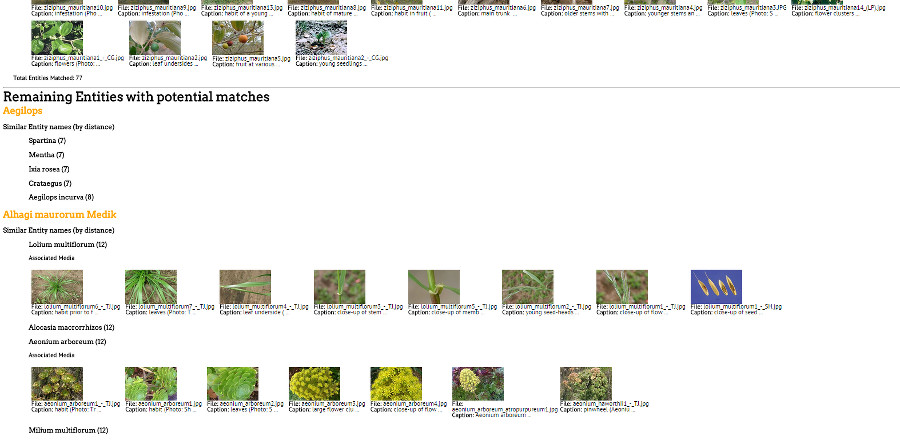
Where a match distance is very close (3 or less) it is highlighted in green text to indicate closeness as outlined red in the example below.
The report uses a very simple self contained HTML template page located in ‘Reports’ folder of Fact Sheet Fusion’s installation folder. If you have permission, you may customize the styles defined in this file, however do not change the filename. Or customize the saved report. Below is the report templates content:
{0}
The reports content replaces the '{0}' token when generated to a file.
To have media displayed within the report relies on a previous export of the fact sheets as HTML. The export settings for the media are used as reference to the media in this report.
The report can be easily saved via your browser as a PDF document using a PDF print driver. E.g. 'Print as PDF'.

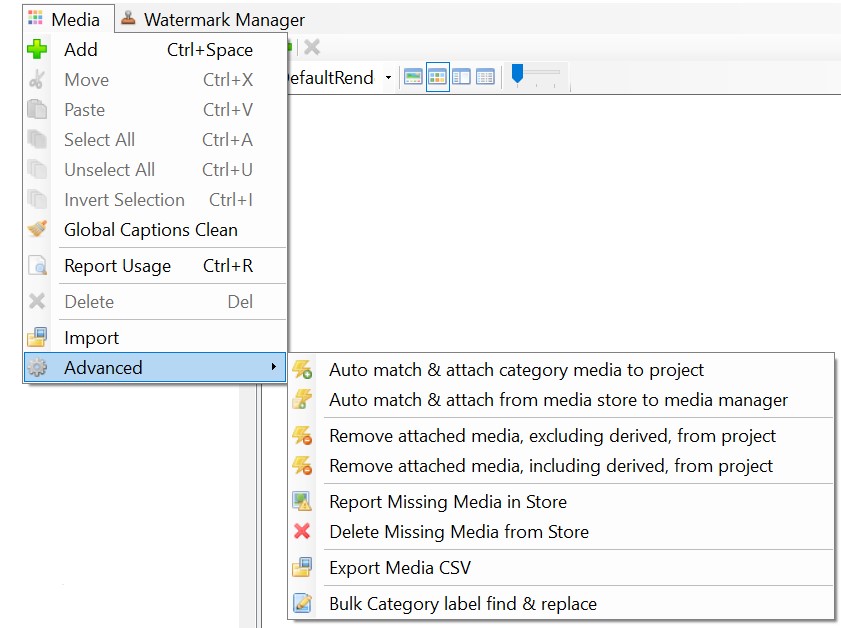
Fact Sheet Fusion has several options for advanced users when dealing with media. Please read the help on any of these options prior to using as in most instances there is no undo action available.
This option will automatically attach any media found in the media manager entity categories to the corresponding project entities. This is useful for example after performing a large media import and saves having to attach each entities media items ‘by hand’.
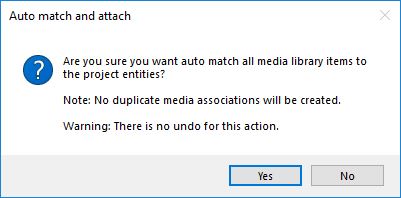
Confirmation warning prior to proceeding with the auto attach function.
This option will search the currently opened Fusion database category sub folders found in the ‘Media’ folder location for any media files that have not yet been attached. Any unattached media found is then automatically added to the media manager under the corresponding category. No duplicate attachments will occur. This option does not attach the found images to the project entities. For this option use the ‘Auto match and attach category media’ option as described above.
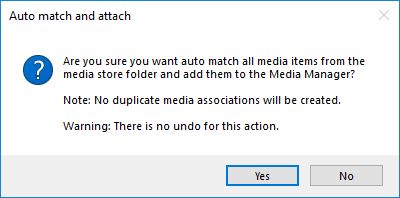
Confirmation warning prior to proceeding with the auto attach media manager function.
This option removes the entity media attachments for the project, excluding derived media attachments. This doesn’t delete media. It only removes the image links that have been associated with an entity in the current project. Derived images aren’t removed as this custom information associated with the image would be lost since it is stored on the basis of the link between the entity and the media item.
This option removes the entity media attachments for the project, including derived media attachments. This doesn’t delete media. It only removes the image links that have been associated with an entity in the current project. Derived images are also removed. This will result in the loss of any custom associated information or setting options for that entity image.
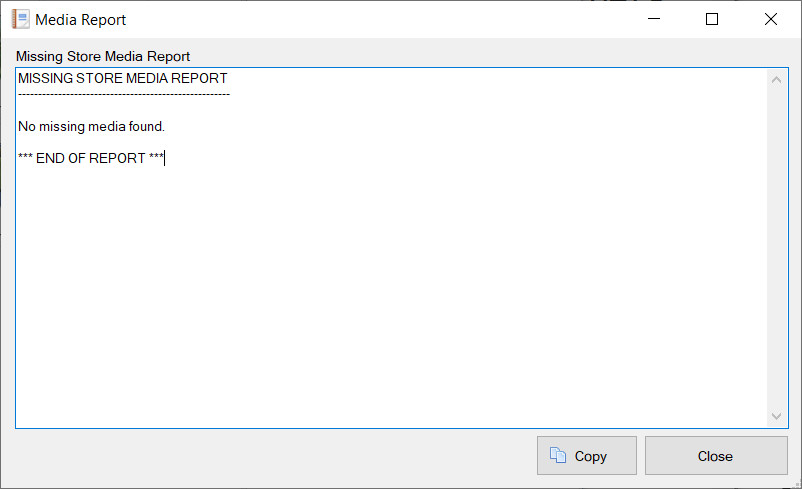
All media stored within the media manager will be checked for missing files where moving, renaming or deleting may have taken place outside the scope of Fact Sheet Fusion, breaking the link between the Fact Sheet Fusion database and the file system. E.g. Via the operating system file manager.
Broken media within the Media Manager will not show a thumbnail, but rather a small media icon.
It is highly recommended that you do not move, edit or delete media files found in the FSF database Media folder using the Windows file manager.
Manual changes to the Fusion databases Media folder content is strongly discouraged, however some advanced users like to manually delete unwanted media from the media store. When this happens it does so outside the scope of Fact Sheet Fusion. When the media manager is loaded these deleted files will be shown as broken media. This option can be used to clean out these now defunct records from the media manager.
References to all media items will be exported to a CSV file. The format (columns of data) mirror that of the CSV media import file format.
After selecting to export a file browser dialog will allow you to choose a folder and filename in which to save the CSV. Once completed you will see a completion dialog.
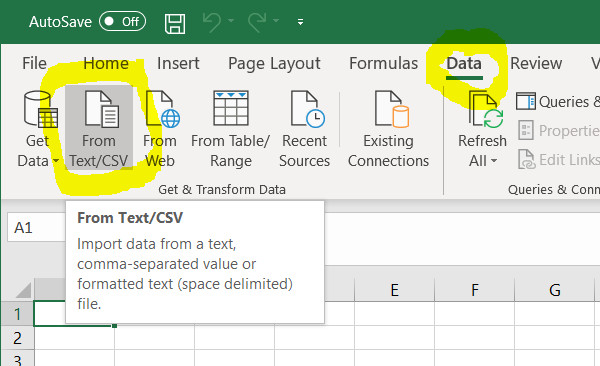
Opening the CSV in Excel
If you wish to open the CSV file in Excel, use the Data menu ‘From Text/CSV’ option, rather than trying to open it via the File…Open menu. As shown in the screen shot below.
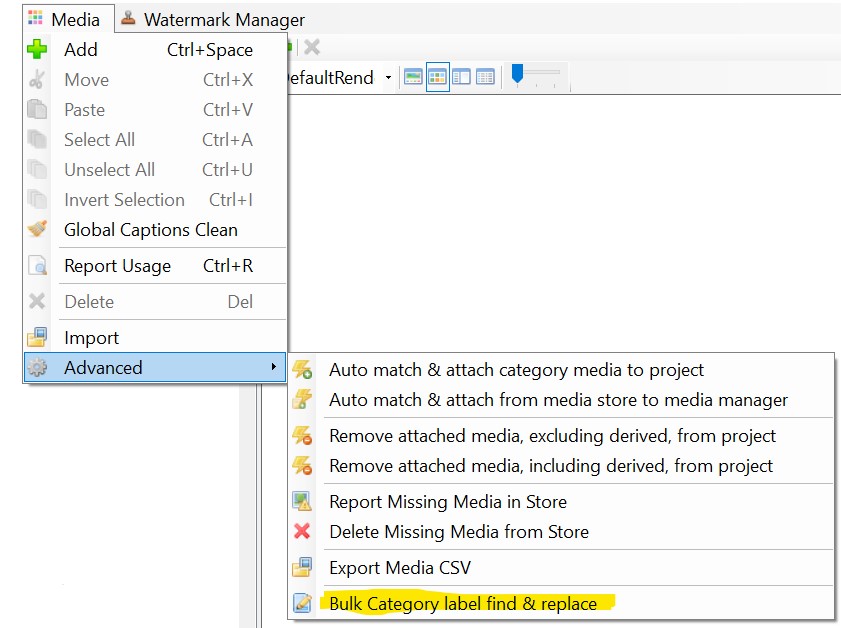
This advanced option allows you to find and replace text within media category labels.
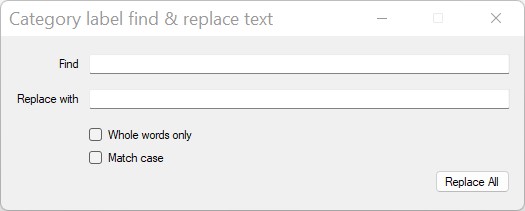
Find
Enter the text you wish to find within the Category labels.
Note: If the find criteria is found in multiple places within the Category label each will be replaced with the replace criteria.
Replace
Enter the text you want to replace the find text with.
Note: The replace text can be left empty. When left empty the any text matching the find text within the label will be deleted.
Whole words only
If selected, the search for the find text within the Category label must have spacing. In other words the find text must not be part of another word.
For example, if we were to find on ‘and’ with the Whole words only option selected. The following would be the result in these examples.
And this label <— Would be found
Anderson is his name <— Would not be found
This label ends in and <— Would be found
This label ends in ‘and’ <— Would be not found
Match case
If selected, for a match to be found within the Category label the same letter case must match the find text letter case. Using the above example, with this option selected searching on ‘and’:
And this label <— Would not be found
Anderson is his name <— Would not be found
This label ends in and <— Would be found
Replace All
This will perform the find and replace on the media Category list using the options entered within the dialog.
After successfully updating any matching labels the Category list will be automatically refreshed.
While performing the find and replace operation each label change is checked to ensure it won’t cause a duplicate Category label. Where this is the case, a list of matching Category labels skipped will be listed for review.

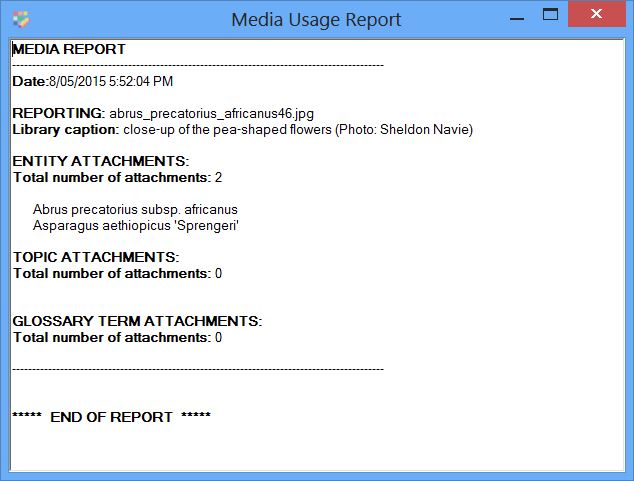
The media usage report shows all usage of selected media throughout all projects. This is particular useful if you want to permanently delete a media item. Or to check associated derived captions.
To generate a report select one or more media items in the media manager. Then right click to view the media pop-up context menu or press Ctrl+R. A report will then be generated on the selected media and displayed in the Usage Report dialog.

An entity is the object for which the fact sheet is being created. An entity can be anything such as an insect, fish or plant species, a medical disorder, or any other series of objects that are described according to specific topics. For more information see Components of a fact sheet.
To add a new Entity to the Entity list, first give focus to the Entity list by clicking on it. You can tell when the Entity has focus as its background will change color. Adding a new Entity can be done in several ways:

You can also elect to add the entities to an existing or new Subset automatically. To do this either select an existing Subset from the dropdown menu or type in the name of a new Subset.
You can use this import process to automatically add entities to a subset, even if they already exist in the current project.
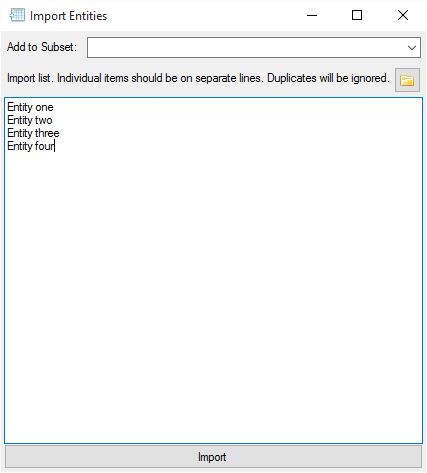
You can browse to load text into the import dialog from a file by using the folder button.
When an entity is created a corresponding Media Category of the same name will also be created, if it doesn't exist.
To edit an existing entity select the entity by clicking on it (or use the up or down arrow keys to navigate to it). Then you can select the edit option (via the Entities menu or context menu), or simply press Ctrl+E. Make the desired changes and click the update button to complete the task.

When an entity is renamed, it's corresponding Media Category will also be renamed.
To delete an Entity, first select it by clicking on it (or use the up or down arrow keys to navigate to it). Then select the delete option from the Entities menu or context menu, or simply press the delete key. You will need to confirm that you wish to delete the Entity.
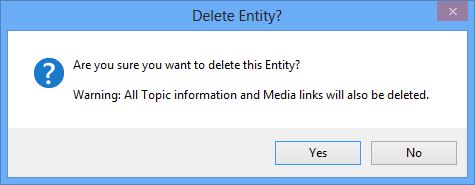
Deleting a Entity will also automatically remove all Topic text and media references (but will not delete the media files) from the Entity.
There is no undo for this action.
By default Fact Sheet Fusion will list the Entities in the order you enter them. However you can sort Entities in two ways. You can either sort all the Entities automatically in to ascending or descending order via the Entities Sort sub menu or context menu. Or you can manually sort the Entities using Drag and Drop.
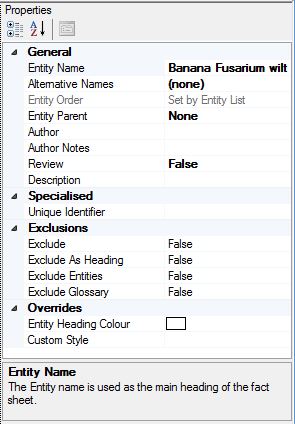
When you give focus to an Entity its properties will be listed within the Properties section of the interface located top right. When you give focus to an Entity property you will get a small help topic listed at the bottom of the properties describing its function.
Entity Name – You can edit the Entity name in the properties panel or as described above.
Alternative Names – This property allows you to assign alternative names associated with the Entity. For example, common names, synonyms etc. See the Alternative Names help topic for further information.
You can access the Alternative Name dialog by using the shortcut key combination (Ctrl + Right Arrow) for the selected Entity.
Entity Order – The sort order of the entities is controlled by the Entity list. See the Sorting options for Entities above.
Entity Parent – You may select another entity as the parent of the selected entity. This can be used when grouping and listing entities, for example, within the index page.
Author – You may enter the author of the entity fact sheet here. The author information can be exported out into the fact sheet meta-data or wherever it is supported in the export template.
The author field allows for token replacement. E.g. [EntityName] and [Topic:
Author Notes – These are private notes relating to the entity. They will not be included as a part of the export process.
The Author Notes field allows for token replacement. E.g. [EntityName] and [Topic:
Review – Mark the entity as needing review. E.g. For further editing. Marking an Entity for review will give you the option of excluding the entity in the export process. See the Export Entity Options help topic for further information.
Description – The description field is a short summary of the entity fact sheet. It can be used in the Fact Sheet meta-data or wherever it is supported in the export template.
The Description field allows for token replacement. E.g. [EntityName] and [Topic:
Specialized
Unique Identifier – The unique identifier is a code (number, text or combination thereof) such as an LSID or database ID that can be used where supported in specialized export templates. For example, it could be used as a part of a query string to filter or to return additional information from an online system.
Exclusions
Exclude – If set to true the entity will be excluded from the export process and no fact sheet will be created, unless overridden by Export options.
Exclude as Heading – Normally most export templates place the entity name at the top of the fact sheet to identify its content. However, if needed, you can mark the entity name to be excluded as a heading, if the export template supports this.
Exclude Entities – This property allows you to exclude the cross-linking of other entities found within the entities topics.
Exclude Glossary – This property allows you to exclude the cross-linking of glossary terms found within the entities topics.
Overrides
Entity Heading Color – Normally the export template will define the color (and style) of the Entity headings within the fact sheet. However you can override this with your preferred color.
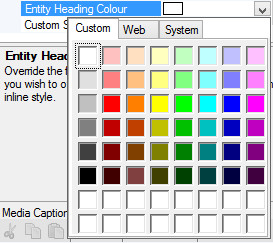
Custom Style – Normally the export template will define the style and formatting of the Entity heading. However you can completely override the export templates style sheet by defining your own in-line styles.
The styles defined should follow the same rules for applying a HTML in-line style. e.g. An in-line style on a heading tag:
<h1 style=”color:#333;text-transform:uppercase;border:none;”>My Entity</h1>
The Custom Style should only define the style definitions, not the tags. i.e. The highlighted section below from the example above:
<h1 style=”color:#333;text-transform:uppercase;border:none;“>My Entity</h1>
Please see Exporting Fact Sheets for further information.
This takes the currently listed entities and saves them to a text file. Once the file has been created you will be asked where to save it.
This takes the current listed entities and saves them to the clipboard where you can for example paste them into another document etc.
When dealing with a large number of entities it’s often useful to temporarily filter the list. You can do this via the filter option found at the top of the entity list. To access the filter options click on the dropdown list.
If the entity list is selected use the following keyboard shortcut to access the filter option: Ctrl + spacebar.
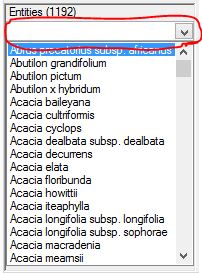
Two filter options are available:
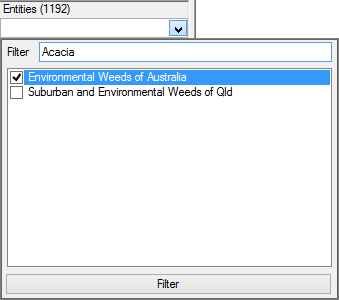
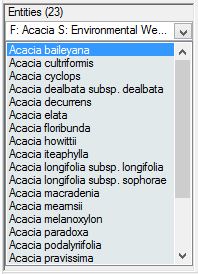
If filter criteria and subsets have both selected they will work in conjunction with each other. That is the entities are restricted to the selected subset(s), which are in turn restricted by the filter text.
Once Filter criteria has been entered and/or subsets selected click on the filter button (or press return). This will apply the filter. If the filter dropdown is closed without selecting to filter (i.e. clicking the filter button), the filter options will not be applied.
To clear the filters remove filter criteria and un-select all subsets then click the filter button.
