Before media can be added to a project you must first create a Media Category to hold it. There are several ways in which to add media to a Category.
1. Select the media category you wish to add media to then select ‘Add’ from the Media menu (shortcut key combination is Ctrl+space). Or you can right click in an empty area of the media panel and select ‘Add’ from the pop-up context menu, or click the add media button on the media panel toolbar. You will then be presented with a media browser dialog.
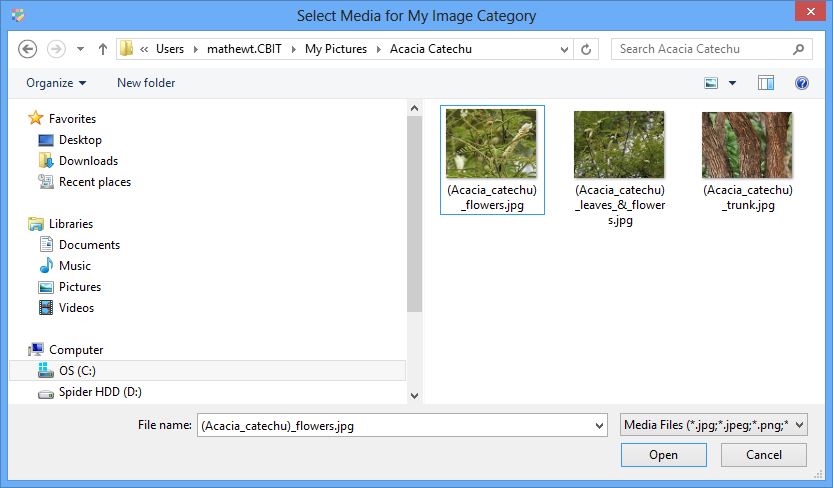
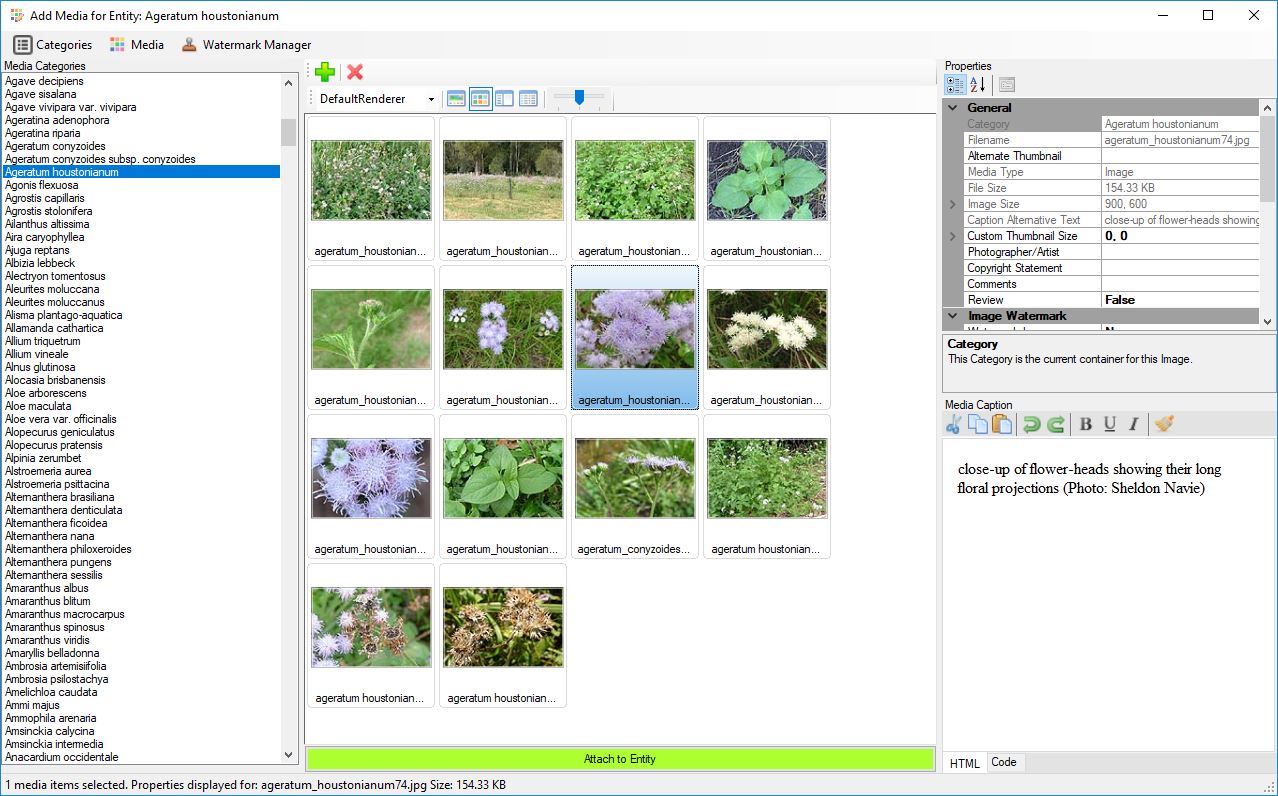
Media browser dialog
When adding media you can select one or multiple items in the media browser dialog. To select multiple media items you can use either the Ctrl key or Shift key. The Ctrl key allows the individual selection of images, while the Shift key allows images to be selected in blocks.
Once you have selected your preferred media they will then be copied to your Fusion database media store folder and listed within the selected Media Category.
2. You can use drag and drop to add media from a Windows application, such as File Explorer to the selected Categories media panel. A copy of this media will be automatically copied across to the fusion database media store and listed in the selected Media Category.
3. Use copy and paste to add media from internal or external sources of media to the media panel. You can use the in-built Windows clipboard for adding media items to a Category. When copying media from an external source such as Windows File Explorer use the Copy command (Ctrl+C), then select the desired category and paste the media to it using the menu, context menu or keyboard command (Ctrl+V). For moving media internal to the Media Manager see the Moving Media topic.
For information about attaching media to Topics, Entities and Glossary Terms please see the Media help topic.
To the right of the Media Categories list is the media list. Media items found in the selected category will be listed here. There are a number of options available to view media.
Media Renderer
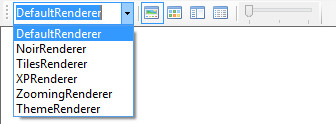
Media renderer dropdown options
The media renderer offers six different themes to display the media. The choice of media renderer is completely up to the individual user. No one theme offers any additional functionality, it only affects the look of the media list. To change renderer just select the preferred one from the drop down list. The new theme will then automatically be applied. Your preferred choice will automatically be saved once the form is closed.
Media Views
Media view options
There are several media views that can be applied to the media list. They are:
Gallery View
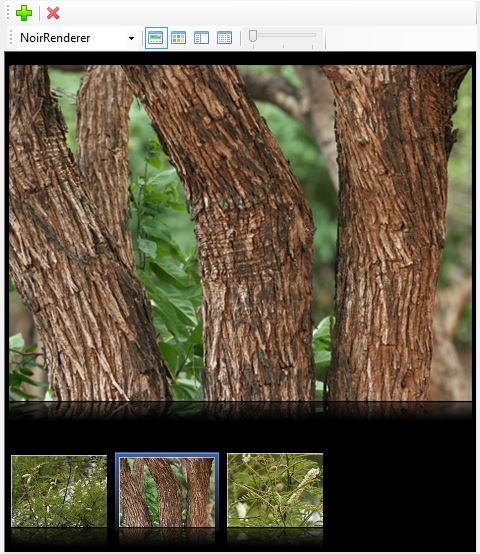
Gallery view using Noir theme
Thumbnail View
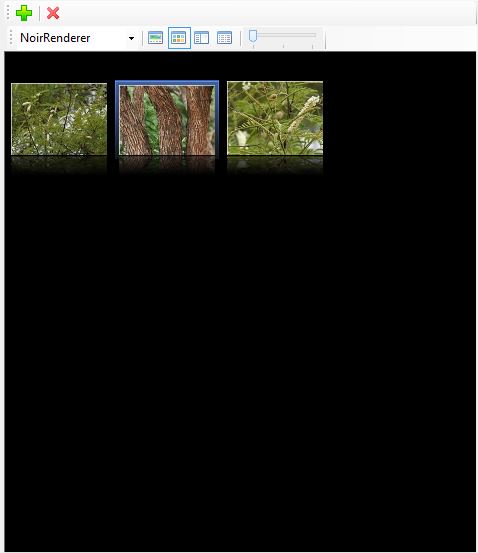
Thumbnail view using Noir theme
The gallery view will render the selected image in the middle of the image list, while the media items are rendered as thumbnails horizontally below. You can move between the media items by clicking on the thumbnail image with your mouse or simply using the left and right arrow keys.
The thumbnail view thumbnails each media item in a grid. Media items can be selected by the mouse or navigated by using the arrow keys.
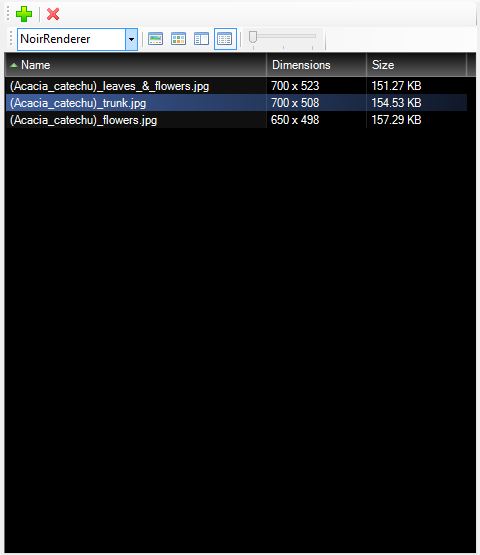
Details Pane
Details view using Noir theme
The details pane lists each media item as a file listing, with detail on the file name, media dimensions and file size.
Thumbnail size
Thumbnail size slider
The media thumbnails can be displayed at three different sizes. Use the thumbnail size slide bar to adjust the thumbnail size. Your preferred size will be automatically remembered when the form is next opened.
Media Categories are containers (or folders) to help manage a large number of media. You can define as many Media Categories as desired. Media categories can hold any supported media types.
Adding a Category
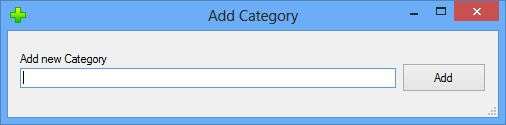
Fact Sheet Fusion Add Media Category Dialog
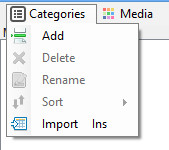
To add a new media category either select the ‘Add’ option from the Categories menu, or right click in the Media Categories list and select ‘Add’ from the pop-up context menu. The add category dialog will appear. Enter the category name and click the add button. The new category will be added below the currently selected category.
Removing a Category
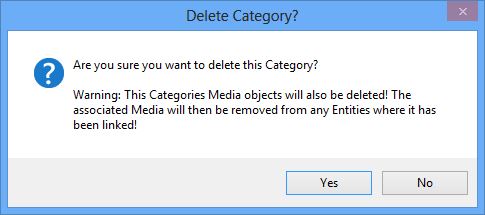
Delete Media Category confirmation dialog
To remove a Category give it focus by selecting it in the Media Category list. Then either select ‘Delete’ from the Categories menu, right click on the selected Category context pop-up menu, or simply press the delete key. Prior to deletion you will be given a warning you are about to delete. There is no undo to this action.
Warning
If you delete a media category containing media items then all the associated media items will also be deleted. If these media items are linked to project elements such as entities or topics the media will automatically be unlinked from them.
Sorting Categories
You can manually sort Media Categories to your preferred order by drag and drop. Just select the desired category, hold down the left mouse button and drag the category to the desired position within the Media Category list, then let go of the left mouse button. Alternatively you can sort the Media Categories into ascending or descending order. Either select your preferred sort option from the Categories menu or by right clicking the Media Category list and selecting the sort preference from the pop-up sort menu.
Importing Categories
If you wish to create several Media Categories at once then use the Import option. This will allow you to paste or type a list of categories. Each Media Category name should be placed onto a separate line. Once you have finished entering your Media Categories click the ‘Import’ button. The Media Categories will then be added to the list.
The Fact Sheet Fusion Media Manager is a centralized repository for media for all projects within the loaded Fusion Database. It allows images and other media such as Office document, PDFs and videos to be added. Details such as captions and copyright only need to be entered once against each media item. When a media item is then added to a project element (entity, topic, glossary etc) it automatically inherits the assigned library settings and values. Of course if you need to customize these settings on an individual case by case basis, this is possible. To override the library settings, you just set the media item to be derived. You may switch between library and derived settings at anytime. More information on this is outlined below. You can also double click on any media item to view it. Images have an in-built image viewer that allows you to preview and adjust image and text watermarks.
You can access the Media Manager via the main interface via the Edit…Media Manager menu (Ctrl+M), or via its icon () on a toolbar.
The HTML Editor is ‘text’ editor for the entering topic text and caption text within your project.
Full Toolbar
HTML Editor toolbar
Mini Toolbar
HTML Editor mini toolbar
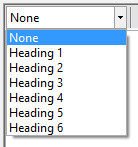
Heading Selector
HTML Editor Heading selector dropdown options
The heading selector allows you to select between several standard heading sizes. The heading size is applied to the currently selected line. A heading size can be removed by selecting the ‘None’ option. The heading size and style in the editor are only indications of the heading style. The selected fact sheet template will define the actual size and font type.
Cut
Any highlighted text will be cut from the editor to the clipboard.
Copy
Any highlighted text will be copied to the clipboard.
Paste
If the clipboard is not empty then the contents of the clip board will be pasted at the position of the cursor.
Tip
Use Ctrl + Shift + v keyboard combination to paste formatted content as plain text. E.g. MS Word or HTML clipboard content.
Undo
Will undo the last action performed. If the Undo button holds a history of steps performed within the editor, you can undo actions performed, such as delete, paste and typing, until the history is exhausted.
Redo
The redo action will redo any step that may have been undone by the Undo action.
Bold
Increases the importance of any selected text or makes any new text important from where the cursor is located. To remove bold text, highlight the desired portion and select bold again.
Underline
Underlines any text selected; or makes any new text underlined from where the cursor is located. To remove underline from text, highlight the desired portion and select underline again.
Italics
Emphasizes any selected text; or makes any new text italicized from where the cursor is located. To remove italics from the text, highlight the desired portion and select italic again.
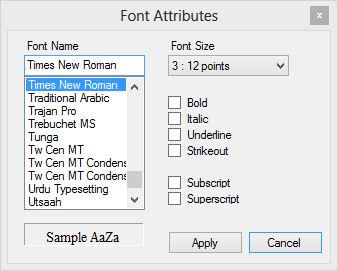
Edit Font
Font dialog
The edit font dialog will allow you to change the underlying font settings. However it is recommended that this facility is used only where absolutely necessary. Defining font settings within the HTML content will override the export template. Therefore it would be possible to cause a mis-match of font types within the exported fact sheet.
Normal (Remove font styles)
The Normal option removes any applied font styling from the selected text.
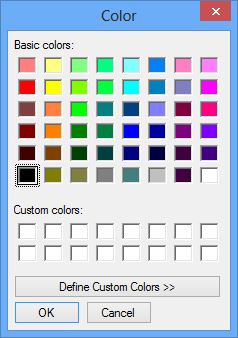
Edit Font Color
Font color dialog
The font color dialog will allow you to change the font color of the selected text. However any font styling, including color, will override the export template.
Increase the Font Size
This will increase the selected text font size incrementally each time it is selected. You can remove font sizing via the Normal option or reduce the font size using the Decrease font size option.
Decrease the Font Size
This will decrease the selected text font size incrementally each time it is selected. You can remove font sizing via the Normal option or increase the font size using the Increase font size option.
Left Justify
Positions selected text to the left of the text edit area.
Center
Positions text center in the text edit area.
Right Justify
Positions text to the right of the text edit area.
Indent
Moves the text a fixed amount to the right equivalent of one tab.
Outdent
Moves the text a fixed amount to the left equivalent of one tab.
Insert Ordered List
This option starts a numbered list. Each new line within the list is automatically assigned the next sequential number. The Indent and Outdent options can be used within the ordered list to create sub lists with their own sequential values.
Insert Unordered List
This option starts an unordered (bullet) list. Each new line within the list is automatically assigned a bullet icon. The Indent and Outdent options can be used within the ordered list to create sub lists with their bullet style. The style applied to each level within the list is determined by the web browser and the font used. This styling can be, easily overridden by the export template.
Insert Line
This option inserts a horizontal line at the position of the cursor.
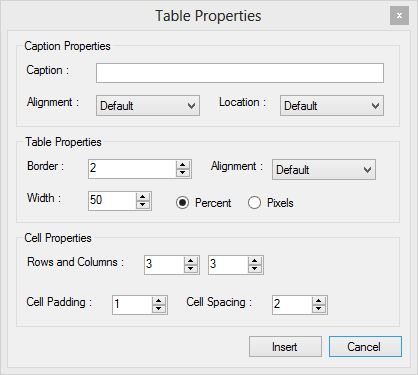
Insert Table
Table Properties dialog
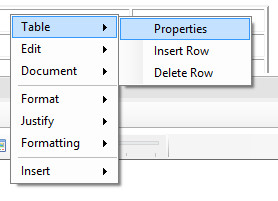
This dialog allows you to define the properties of a table to be inserted into the text edit area. Once the table has been created it can be easily modified by right clicking within the table area and selecting the table edit options.
Table pop-up context menu
Insert Image
This option has been disabled in this edition and may be added in a future release. If you wish to associate an image with a topic you can do so via the Topic Image tab or an image can be associated with the entity. The selected export template will then determine the layout and positioning of the image. Alternatively if you do wish to embed an image from an Internet location you can use the editing pop-up context menu to insert an image. If an image is embedded this way, the browser loading the exported page will need Internet access to display the image.
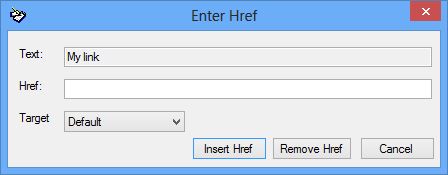
Insert Link
HTML Link edit dialog
This options allows you to create a link on highlighted text. If you are creating a link you can set the target (i.e. New window or the same window). The Href (hyperlink) should be a fully qualified URL (e.g. https://www.lucidcentral.org)
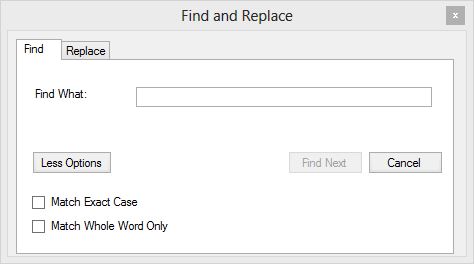
Find/Replace
Find dialog
The find dialog will search for given text within the current editor’s text area.
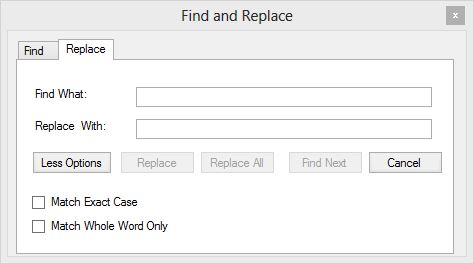
Replace dialog
The replace option allows you to perform a find and replace within the current text area.
Print
This option allows you to print the current text area content. It will open a print dialog allowing you to select your preferred printer and page options.
Clean HTML
Often when Microsoft Word content (or content of other Office applications) is pasted into the HTML editor, it is pasted with Microsoft Office HTML formatting, which will override the exported fact sheet template styles. The Clean HTML function is designed to remove most Microsoft Word HTML formatting, leaving the equivalent styling where possible, but without the use of embedded styles. This will leave the formatted content looking similar to “plain text”, but will generally look much better in the exported format once the template has been applied.
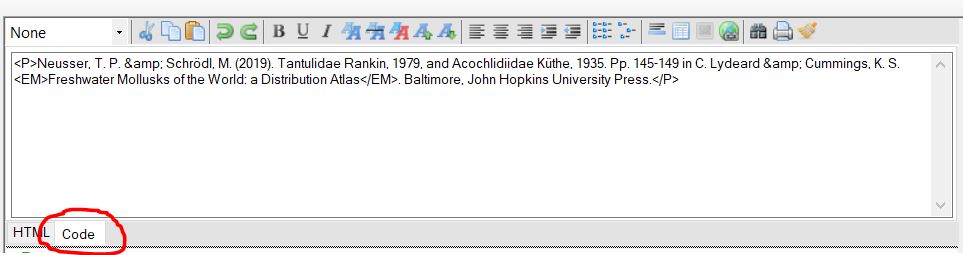
The Code tab within the HTML editor allows you access to the underlying HTML markup of the document. If you are comfortable with HTML you can edit the HTML markup directly. Switching back to the HTML tab will update the document with any changes that have been made. It is very important to maintain well formed HTML code within the HTML editor. That is, each HTML tag must have a start and end tag (other than breaking return tags (<br>) and horizontal lines (<hr>)).
If errors are made in the simple mark up, the editor will try and correct for this, i.e. append missing end tags, although in more complex tags, such as tables etc, this may not work. If “broken” HTML tagging is left within the editor this may affect the exported fact sheet with either an error when exporting or unexpected layout and formatting.
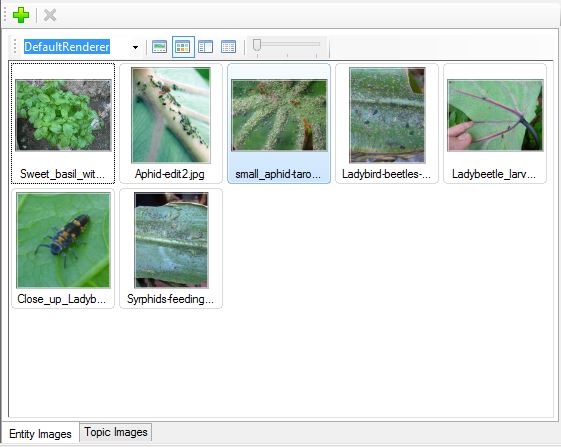
One or more media items can be linked to Entity Topics (An Entity Topic is the combination of the selected Entity and Topic) or directly to the Entity. Normally media that is attached to an entities topic is shown within the section relating to that topic in the fact sheet, while media attached to the entity are shown either at the top or bottom of the fact sheet. The layout of the media will vary depending on the export template selected. You can flip between the Entity Images and Topic Images using the tabs at the bottom of the media panel.
Entity and Topic Image tabs
For more information on media please see the Media topic or the Media Manager topic.
Media Properties
The Properties panel located at the top right of the main interface will show the properties of the currently selected item within the interface (e.g. Topics, Entities and Media). Properties can be edited by clicking on the property value on the right hand side of the property label. Depending on the type of property it may be as simple as choosing between true or false, or selecting from a drop down list. For other properties it may be more complex, requiring free form text. Each property when selected will show a help snippet at the bottom of the property panel, describing what it does. The property panel width can be adjusted by selecting the left hand border and dragging to the desired size. The height of the properties panel can also be adjusted by selecting the border below the help snippet and dragging it to the preferred height. For more details about each property please see the relevant help section (i.e. Entity Properties, Topic Properties, Media Properties)
An entity is the object for which the fact sheet is being created. An entity can be anything such as an insect, fish or plant species, a medical disorder, or any other series of objects that are described according to specific topics. For more information see Components of a fact sheet.
Adding Entities
To add a new Entity to the Entity list, first give focus to the Entity list by clicking on it. You can tell when the Entity has focus as its background will change color. Adding a new Entity can be done in several ways:
Add Entity dialog
Via the Entities Menu…Add (Ctrl + E)
Via the pop-up context menu accessible by right clicking within the Entity list.
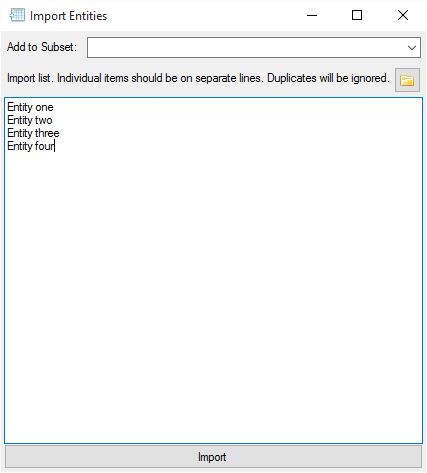
Via the Import (Ins) option (available via the Entities menu or the context menu).
You can also elect to add the entities to an existing or new Subset automatically. To do this either select an existing Subset from the dropdown menu or type in the name of a new Subset.
Tip
You can use this import process to automatically add entities to a subset, even if they already exist in the current project.
Import Entities dialog
Tip
You can browse to load text into the import dialog from a file by using the folder button.
Note
When an entity is created a corresponding Media Category of the same name will also be created, if it doesn't exist.
Editing Entities
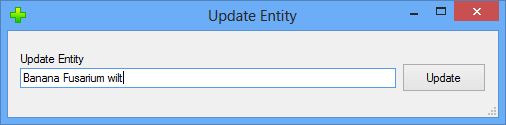
To edit an existing entity select the entity by clicking on it (or use the up or down arrow keys to navigate to it). Then you can select the edit option (via the Entities menu or context menu), or simply press Ctrl+E. Make the desired changes and click the update button to complete the task.
Update Entity dialog
Note
When an entity is renamed, it's corresponding Media Category will also be renamed.
Deleting Entities
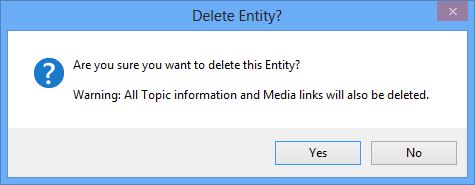
To delete an Entity, first select it by clicking on it (or use the up or down arrow keys to navigate to it). Then select the delete option from the Entities menu or context menu, or simply press the delete key. You will need to confirm that you wish to delete the Entity.
Delete Entity confirmation dialog
Deleting a Entity will also automatically remove all Topic text and media references (but will not delete the media files) from the Entity.
Note
There is no undo for this action.
Sorting Entities
By default Fact Sheet Fusion will list the Entities in the order you enter them. However you can sort Entities in two ways. You can either sort all the Entities automatically in to ascending or descending order via the Entities Sort sub menu or context menu. Or you can manually sort the Entities using Drag and Drop.
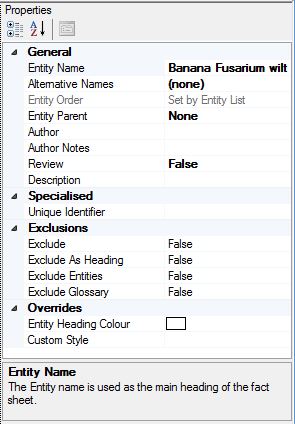
Entity Properties
Entity Properties panel
When you give focus to an Entity its properties will be listed within the Properties section of the interface located top right. When you give focus to an Entity property you will get a small help topic listed at the bottom of the properties describing its function.
General
Entity Name – You can edit the Entity name in the properties panel or as described above.
Alternative Names – This property allows you to assign alternative names associated with the Entity. For example, common names, synonyms etc. See the Alternative Names help topic for further information.
Tip
You can access the Alternative Name dialog by using the shortcut key combination (Ctrl + Right Arrow) for the selected Entity.
Entity Order – The sort order of the entities is controlled by the Entity list. See the Sorting options for Entities above.
Entity Parent – You may select another entity as the parent of the selected entity. This can be used when grouping and listing entities, for example, within the index page.
Author – You may enter the author of the entity fact sheet here. The author information can be exported out into the fact sheet meta-data or wherever it is supported in the export template.
Tip
The author field allows for token replacement. E.g. [EntityName] and [Topic:].
Author Notes – These are private notes relating to the entity. They will not be included as a part of the export process.
Tip
The Author Notes field allows for token replacement. E.g. [EntityName] and [Topic:].
Review – Mark the entity as needing review. E.g. For further editing. Marking an Entity for review will give you the option of excluding the entity in the export process. See the Export Entity Options help topic for further information.
Description – The description field is a short summary of the entity fact sheet. It can be used in the Fact Sheet meta-data or wherever it is supported in the export template.
Tip
The Description field allows for token replacement. E.g. [EntityName] and [Topic:].
Specialized Unique Identifier – The unique identifier is a code (number, text or combination thereof) such as an LSID or database ID that can be used where supported in specialized export templates. For example, it could be used as a part of a query string to filter or to return additional information from an online system.
Exclusions Exclude – If set to true the entity will be excluded from the export process and no fact sheet will be created, unless overridden by Export options.
Exclude as Heading – Normally most export templates place the entity name at the top of the fact sheet to identify its content. However, if needed, you can mark the entity name to be excluded as a heading, if the export template supports this.
Exclude Entities – This property allows you to exclude the cross-linking of other entities found within the entities topics.
Exclude Glossary – This property allows you to exclude the cross-linking of glossary terms found within the entities topics.
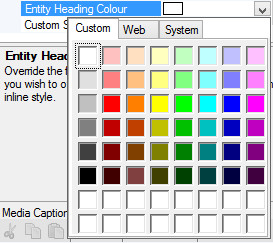
Overrides Entity Heading Color – Normally the export template will define the color (and style) of the Entity headings within the fact sheet. However you can override this with your preferred color.
Entity Heading color picker
Custom Style – Normally the export template will define the style and formatting of the Entity heading. However you can completely override the export templates style sheet by defining your own in-line styles. The styles defined should follow the same rules for applying a HTML in-line style. e.g. An in-line style on a heading tag:
This takes the currently listed entities and saves them to a text file. Once the file has been created you will be asked where to save it.
Entity Names to Clipboard
This takes the current listed entities and saves them to the clipboard where you can for example paste them into another document etc.
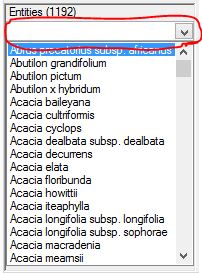
Filtering Entities
When dealing with a large number of entities it’s often useful to temporarily filter the list. You can do this via the filter option found at the top of the entity list. To access the filter options click on the dropdown list.
Tip
If the entity list is selected use the following keyboard shortcut to access the filter option: Ctrl + spacebar.
Entity filter option
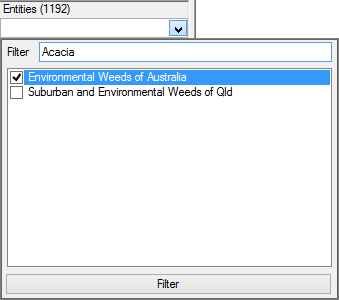
Two filter options are available:
Text filter: Enter search criteria (text) you wish to match within the entity list and their alternative names, if present. Note: If a match is made on an alternative name the associated Entity will be listed, not the alternative name. This can give the appearance the entity listed didn’t match the criteria you entered in the filter.
Subset filter: Selected subset(s) will filter the entities list based on the entities contained within the subset(s).
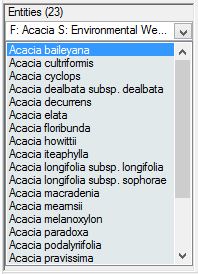
Entity Filter option expand showing example filtering by entity labels contain’Acacia’ and via the Entity Subset ‘Environmental Weeds of Australia’Entity Filter option showing the results of the filter
If filter criteria and subsets have both selected they will work in conjunction with each other. That is the entities are restricted to the selected subset(s), which are in turn restricted by the filter text.
Once Filter criteria has been entered and/or subsets selected click on the filter button (or press return). This will apply the filter. If the filter dropdown is closed without selecting to filter (i.e. clicking the filter button), the filter options will not be applied.
To clear the filters remove filter criteria and un-select all subsets then click the filter button.
Topics within Fact Sheet Fusion are generic headings for the Fact Sheets. The topic text is then displayed for the respective Topic heading. If a Topic for a given entity contains no topic text then the topic will be excluded from the fact sheet. It is also possible to include the topic text, without the Topic being present as a heading.
Adding Topics
To add a new topic to the Topic list, first give focus to the Topic list by clicking on it. You can tell when the Topic has focus as its background will change color. Adding a new Topic can be done in several ways.
Add Topic dialog
1. Via the Topic Menu…Add (Ctrl + T) 2. Via the pop-up context menu accessible by right clicking within the Topic list. 3. Via the Import (Ins) option (available via the Topic menu or the context menu).
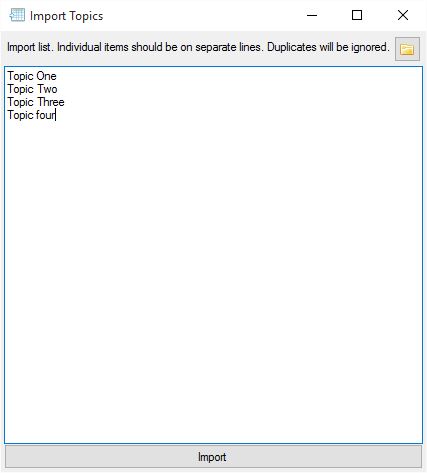
Import Topics dialog
Tip
You can browse to load text into the import dialog from a file by using the folder button.
Editing Topics
To edit an existing topic, select that topic by clicking on it (or use the up or down arrow keys to navigate to it). Then you can select the edit option (via the Topic menu or context menu), or simply press Ctrl + E. Make the desired changes and click the update button to complete the task.
Edit/Update Topic dialog
Deleting Topics
To delete a topic, first select it by clicking on it (or use the up or down arrow keys to navigate to it). Then select the delete option from the Topic menu or context menu, or simply press the delete key. You will need to confirm that you wish to delete the topic.
Delete topic warning dialog
Deleting a Topic will also automatically remove all text and media references (but it will not delete the media files) from the Topic.
Note
There is no undo for this action.
Sorting Topics
You can sort topics in two ways. You can either sort all the topics automatically in to ascending or descending order via the Topic Sort sub menu or context menu. Alternatively, you can manually sort the Topics using Drag and Drop.
Tip
Topic sort order is important as the order defined in the Topic list is the order topics appear within the fact sheet.
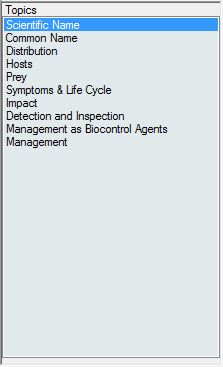
Topic Properties
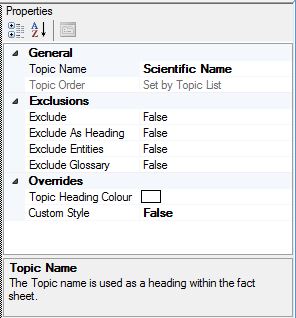
Topics Properties Panel
When you give focus to a Topic its properties will be listed within the Properties section of the interface located top right. When you give focus to a Topic property you will see a small help topic listed at the bottom of the properties describing its function.
General Topic Name – You can edit the Topic name via the properties or as described above.
Topic Order – This is set by the Topic list and is a read only property.
Exclusions Exclude – You can exclude the topic from the export process by setting this property to true.
Exclude as Heading – The Topic name will be excluded as a heading though the topics text will still be output within the fact sheet.
Exclude Entities – Exclude cross-linking of any entities found within the text of this Topic during the export process.
Exclude Glossary – Exclude the cross-linking of glossary terms found with in the text of this topic during the export process.
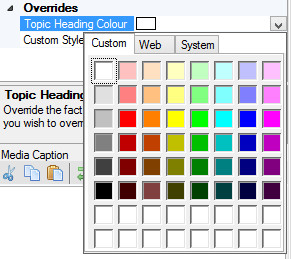
Overrides Topic Heading Color – Normally the export template will define the color (and style) of the Topic headings within the fact sheet. However you can override this with your preferred color. This color will be applied to this topic heading in all fact sheets that it appears.
Topic heading color picker
Custom Style – Normally the export template will define the style and formatting of the topic heading. However you can completely override the export templates style sheet by defining your own in-line styles. The styles defined should follow the same rules for applying an HTML in-line style. E.g. An in-line style on a heading tag:
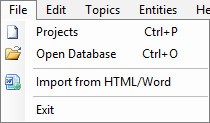
The file menu allows you to open a different Project (Ctrl+P) within the currently opened Fusion database, open a different Fusion Database (Ctrl+O) containing other projects, or to Import content from HTML or MS Word files.
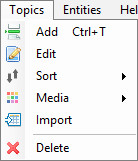
The Topic menu gives you access to actions available for managing Topics. Menu items will only be available if they are able to perform the action. For example, the Delete option would be unavailable if no topics are present. For more information on Topics please see the Topics help section below.
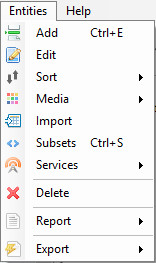
Entities Menu
Entities Menu
The Entities menu gives you access to actions available for managing Entities. Menu items will only be available if they are able to perform the action. For example, the Delete option would be unavailable if no entities are present. For more information on Entities please see the Entities help section below.
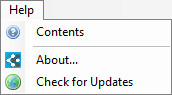
Help Menu
Help Menu
The help menu gives access to this help file and to the about dialog, where version information and the log file is accessible. You can also check for updates to Fact Sheet Fusion that may have become available.
The preview button automatically exports the selected entity as a fact sheet using the current export settings. Once the export has completed, the fact sheet will be loaded into the default web browser or PDF reader (depending on the export output type). If the minimum export settings have not yet been entered the export dialog will be automatically opened. The export settings then need to be adjusted before the preview can be completed.
Export
The Export button will open the Export dialog allowing you to adjust the various export settings and perform a full export your fact sheets. See the Export help topic for further information on exporting fact sheets.
Glossary Manager
The Glossary Manager button opens the Glossary Manager dialog allowing you to enter glossary sets, terms and definitions for your fact sheets. See the Glossary Manager help topic for further information.
Media Manager
The Media Manager button will open the Media Manager dialog where you can add, edit and remove media associated with the fact sheets. See the Media Manager help topic for further information.
Image Watermark Manager
The Image Watermark Manager button opens the Image Watermark Manager dialog where you can manage the image watermarks and their default settings for your project. See the Image Watermark Manager help topic for further information.