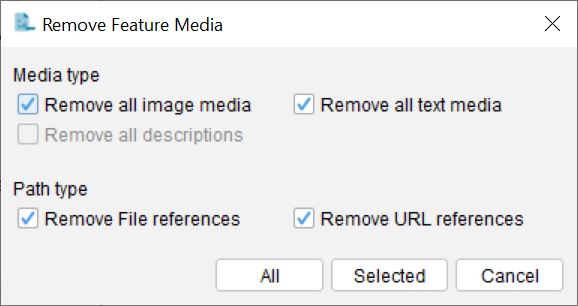
Remove Feature Media
Available via the Key…Media…Remove Feature Media menu option.
This options allows all media to be easily removed in one action from either the selected feature or state or all features and states.
Media type options
Remove all image media
If selected, will remove all image attachments from the Features and States.
Remove all text media
If selected, will remove all HTML and PDF attachments from the Features and States.
Remove all descriptions
Not available for features. This option is only available when removing media from Entities.
Path type options
Remove File references
This option will remove any file based media referenced found in the Feature tree.
Remove URL references
This option will remove any URL based media references found in the Feature tree.
Option Buttons
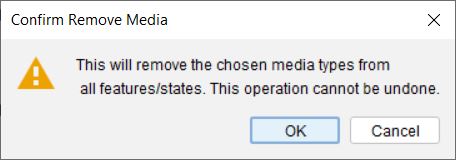
All
If chosen, media (based on the above selected options) will be removed from all items found in Features tree. Prior to removal you will be asked to confirm the operation.
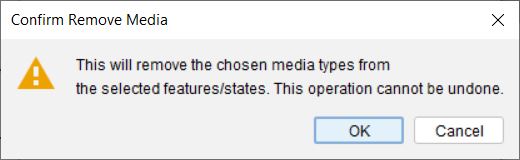
Selected
If chosen, only media from selected items within the Feature tree will be removed. Prior to removal you will be asked to confirm the operation, as shown in the dialog below.
Cancel
Will close the ‘Remove Feature Media’ dialog without any removal actions taking place.
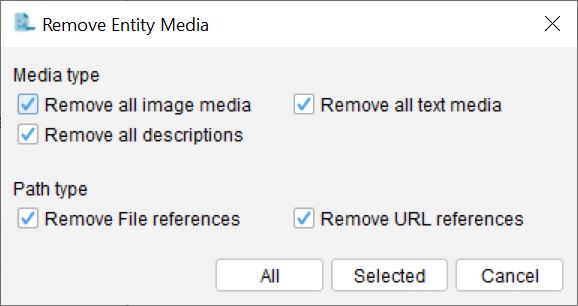
Remove Entity Media
Available via the Key…Media…Remove Entity Media menu option.
This options allows all media, including descriptions, to be easily removed in one action from either the selected Entities or all Entities.
Media type options
Remove all image media
If selected, will remove all image attachments from the Entities.
Remove all text media
If selected, will remove all HTML and PDF attachments from the Entities.
Remove all descriptions
This option will remove all automatically generated and attached descriptions created by the Builder. See Creating Natural Language Descriptions for more information.
Path type options
Remove File references
This option will remove any file based media referenced found in the Entities tree.
Remove URL references
This option will remove any URL based media references found in the Entities tree.
Option Buttons
All
If chosen, media (based on the above selected options) will be removed from all items found in Entities tree. Prior to removal you will be asked to confirm the operation.

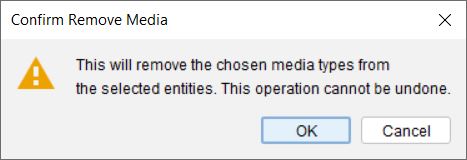
Selected
If chosen, only media from selected items within the Feature tree will be removed. Prior to removal you will be asked to confirm the operation, as shown in the dialog below.
Cancel
Will close the ‘Remove Entity Media’ dialog without any removal actions taking place.